
How to use the Smart Tasks chat
The Smart Tasks chat is your direct line to getting things done with Tolq AI. This section guides you through the essentials of starting and managing chats, from initiating conversations to making the most out of context files and task-specific prompts. Whether you're looking to draft content, solve problems, or assistance with prioritising tasks, this chat interface is designed to help you achieve your objectives quickly and efficiently.
How to get started with Smart Tasks' Chat
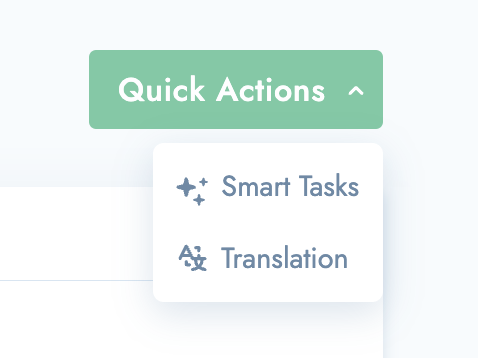
- If you are starting from the Dashboard, you can either click the 'Quick Actions' drop-down menu button and select 'Smart Tasks'...
- ... OR you can click on 'Chat' in the Smart Tasks menu on the left.
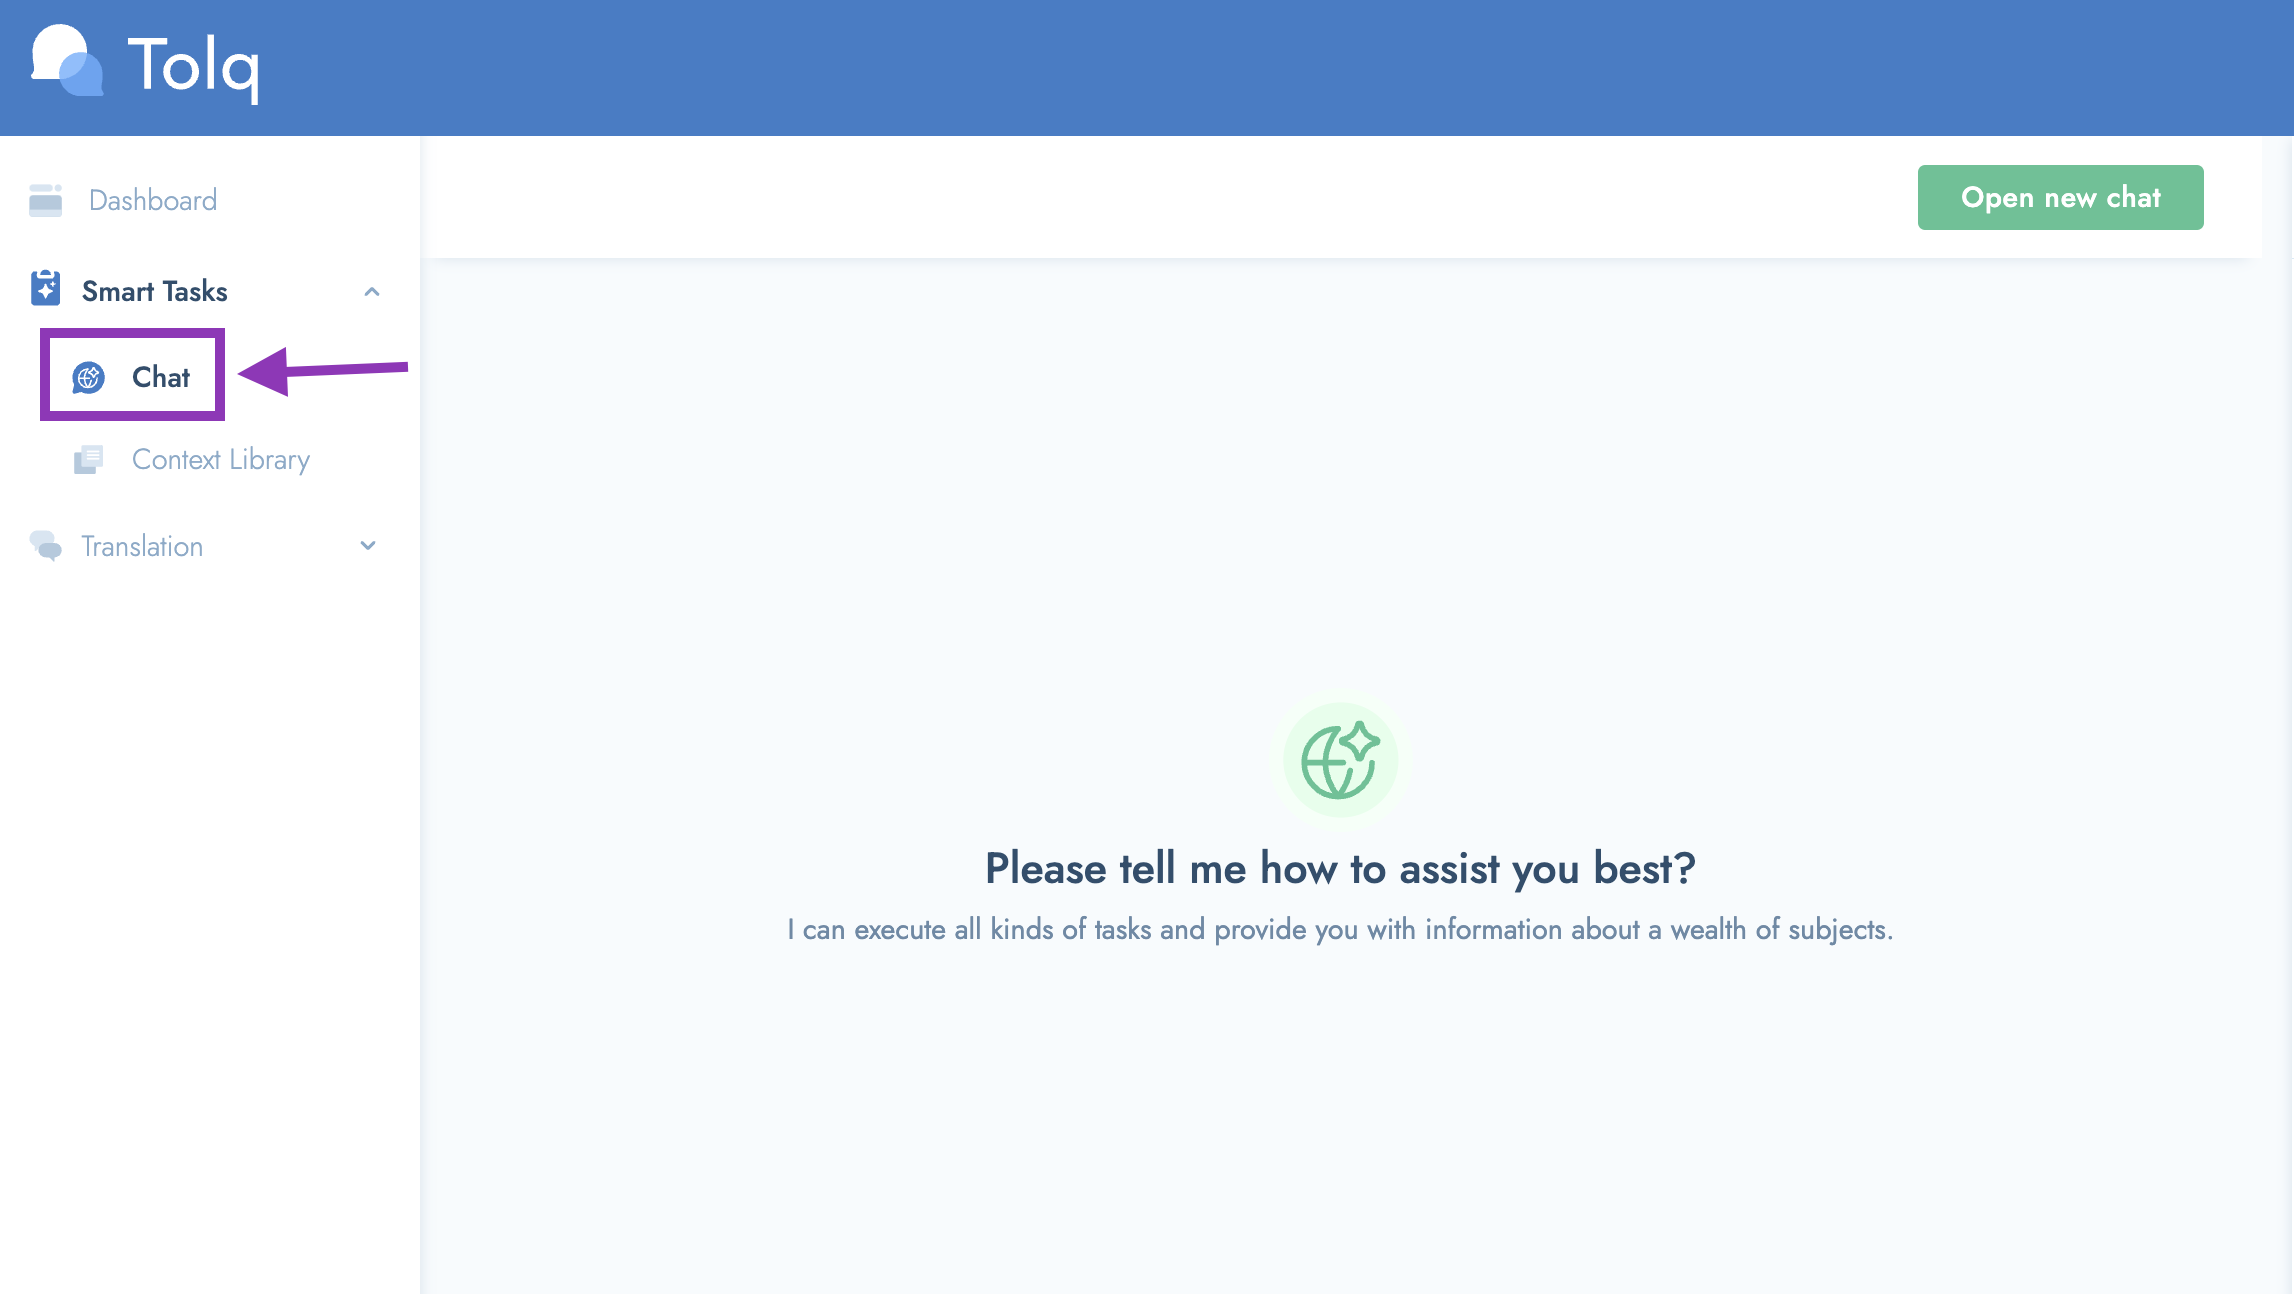
- You are now ready to start your first chat!
Starting your first chat
- To start your first chat, just type in the text box at the bottom of the screen.
- However, if you want to use some of the files you've uploaded, you'll need to select and attach them first.
- To do that, please navigate to the 'Data contexts' dropdown menu on the right side of the screen.
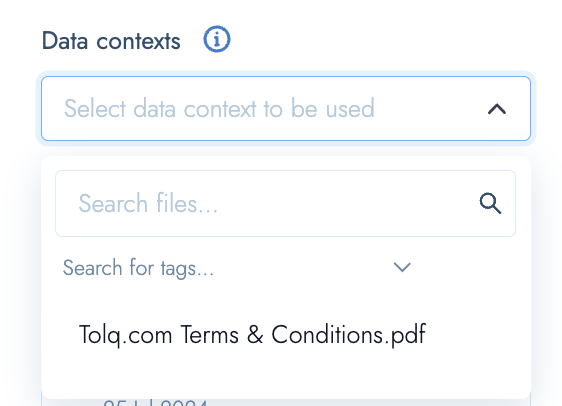
- Select the files you want from the menu.
- You can add a maximum of 10 files per chat.
- Search for tags by filename OR filter by tag name.
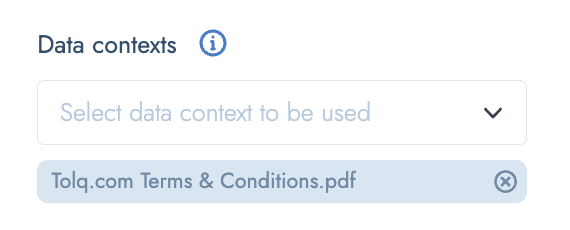
- Once you see your file(s) added below this section, you are ready to go!
- PLEASE NOTE: The ability to upload files only works with the ChatGPT4o model. Claude Sonnet 3.5 does not (yet) support file uploads. Please switch models if you need to select a context file.
- To start chatting, simply type into the chat box at the bottom of the screen:

Attaching Context Files
- Before starting a chat, attach a context file if you want to use any files in the chat.
- Once a chat has started, you cannot add context files.
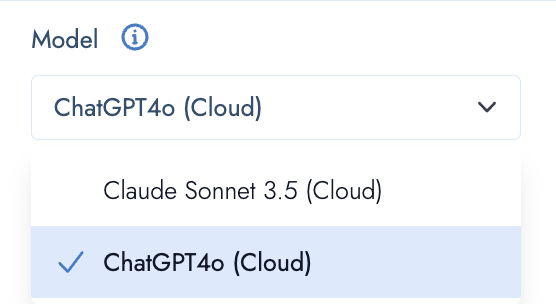
Choosing the AI Model
- Select the model you want to use before you start chatting.
- Note: If you want to use files from your context library, you can only select "ChatGPT4o".
- Claude Sonnet 3.5 does not (yet) support file uploads.
- To select and change the selected model, simply click on the "AI Model" drop down menu and select your preferred AI Model.
Chat History:
- History chats are listed in the chat window on the right side of the screen.
How to use the Context Library
- To read more about the Context Library, please read the article here.