
Sign-Up and Log-In
Signing up
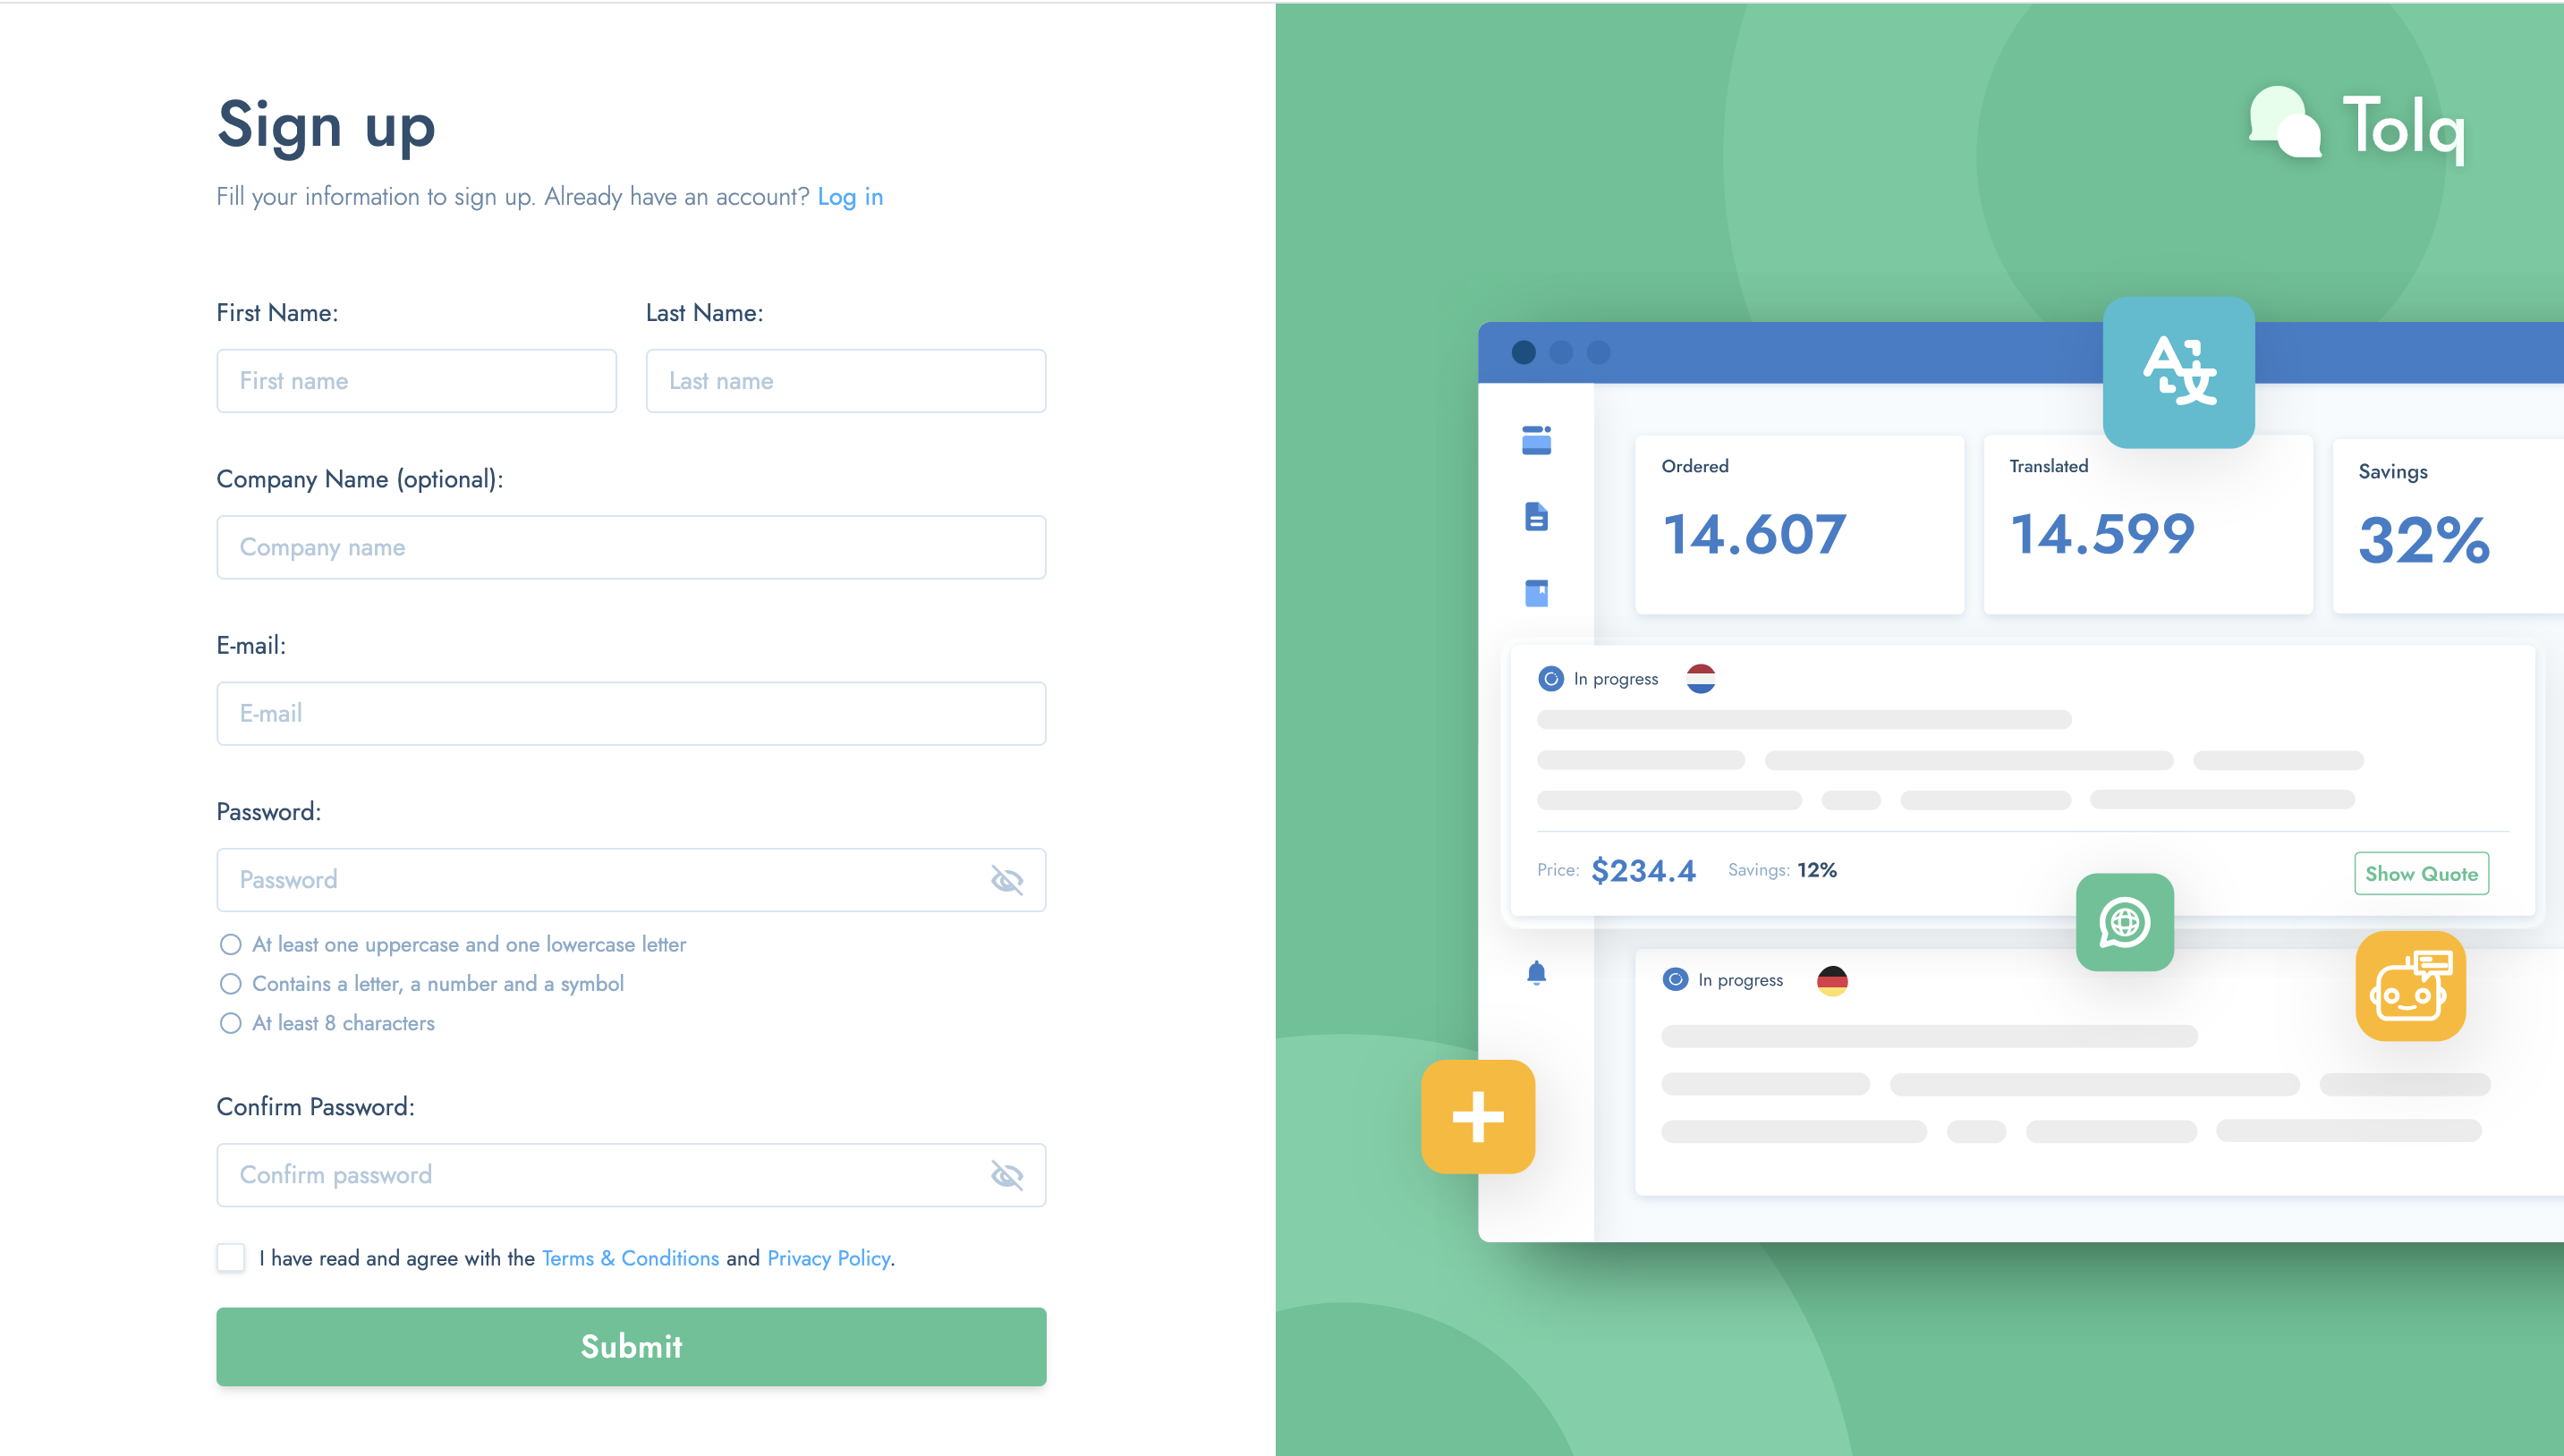
Signing up is quick and easy. Here's how:
- Go to https://clients.tolq.com/en/auth/sign-up.
- Enter your details, including your name, email address, and any other required information.
- Select a secure password and confirm it.
- Take a moment to review and agree to our Terms and Conditions and Privacy Policy.
- Click "Submit".
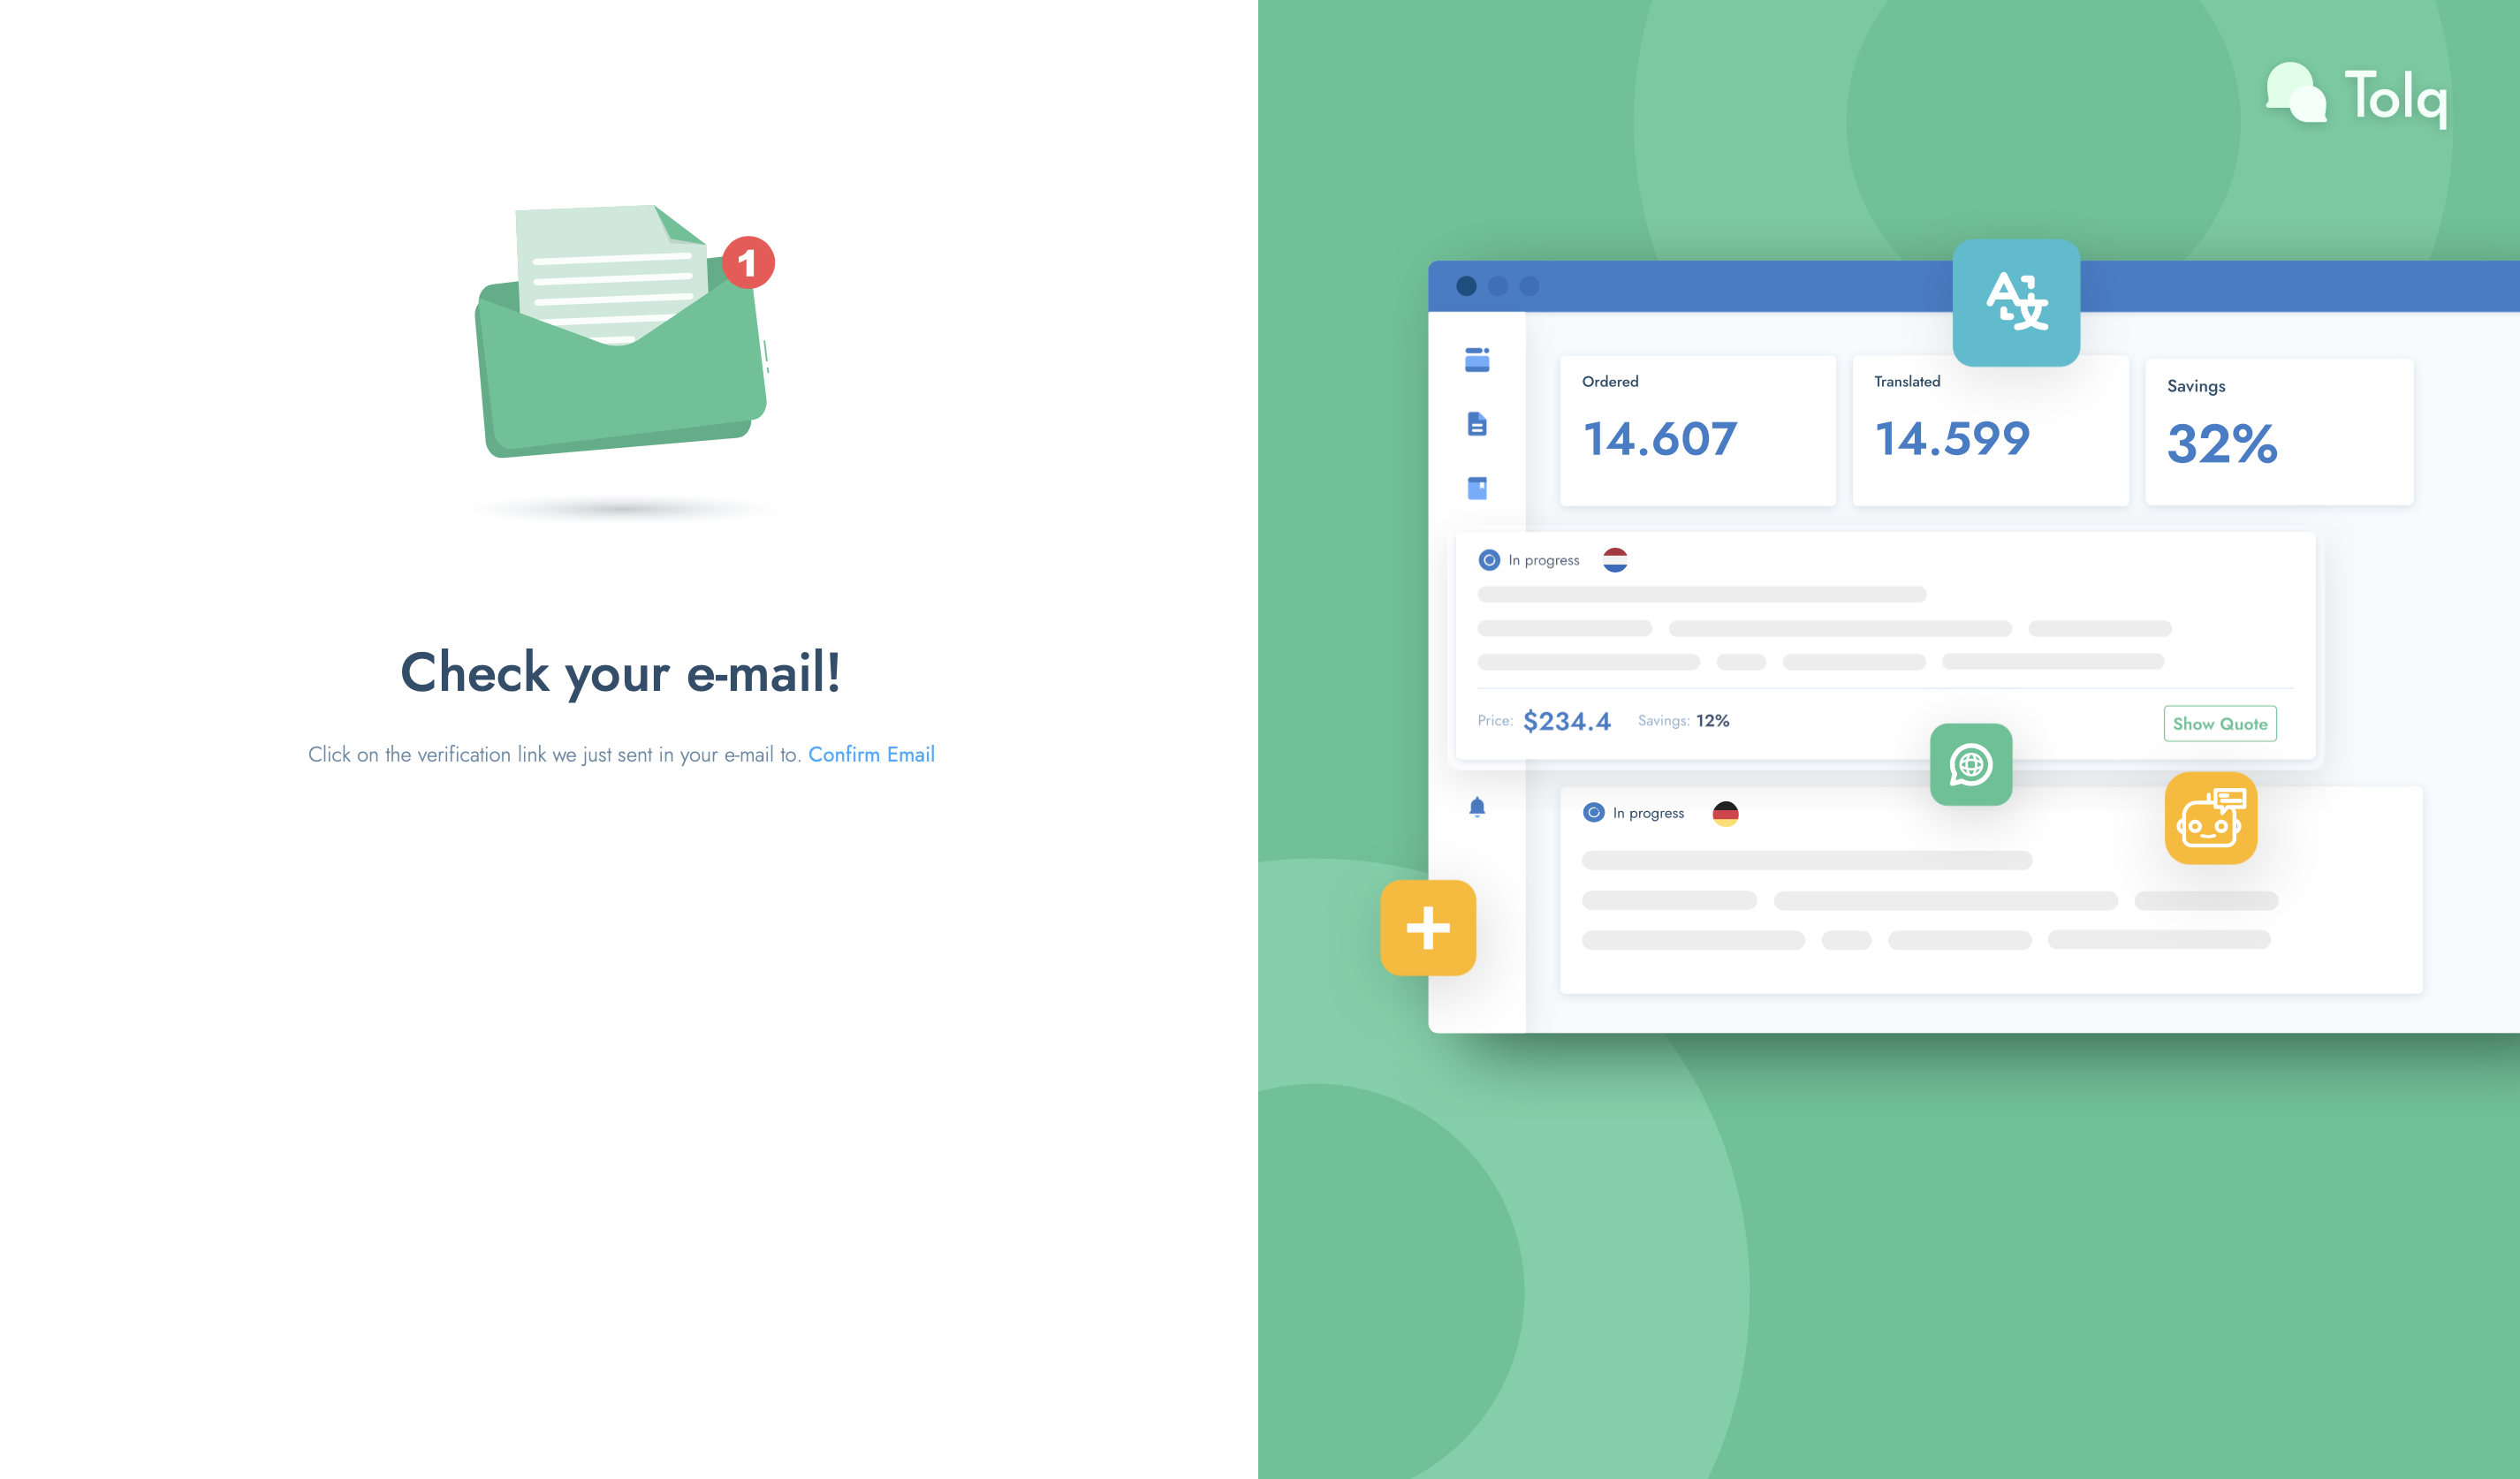
- The next step is to verify your email address.
- To do this, navigate to your inbox and fine the email with your unique verification code. (Remember to check your Spam folder just in case it ended up there.)

- Once you have the code, you can click "Confirm Email" on your screen
- Continue to enter your unique code and click "Submit"
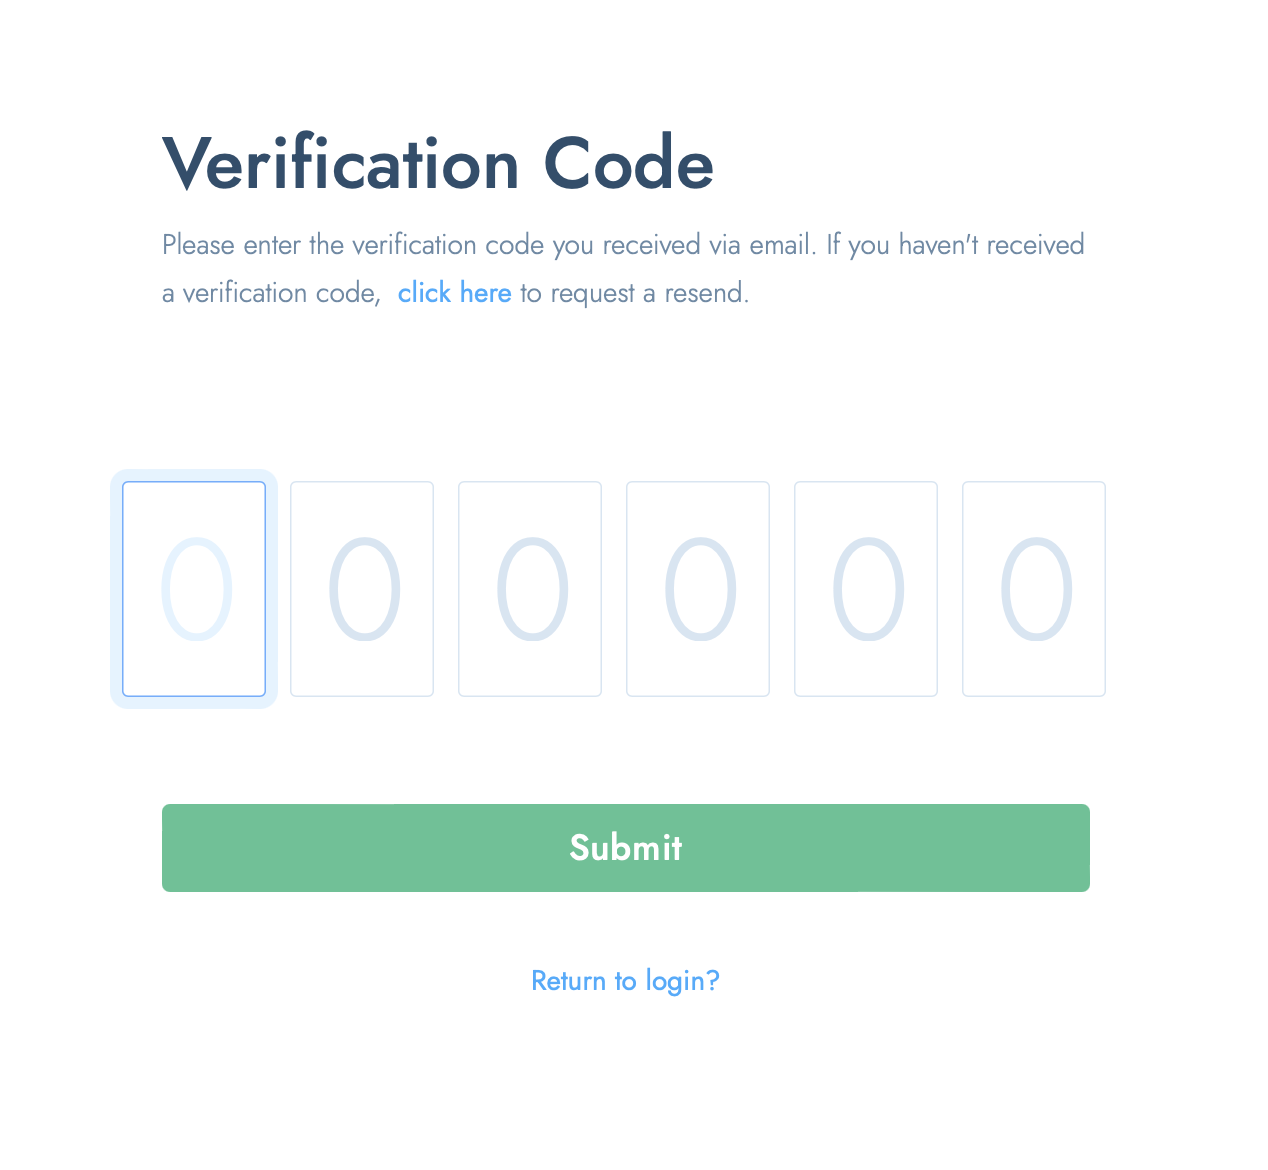
- You're now ready to log in using the details you provided during sign-up.
Logging in
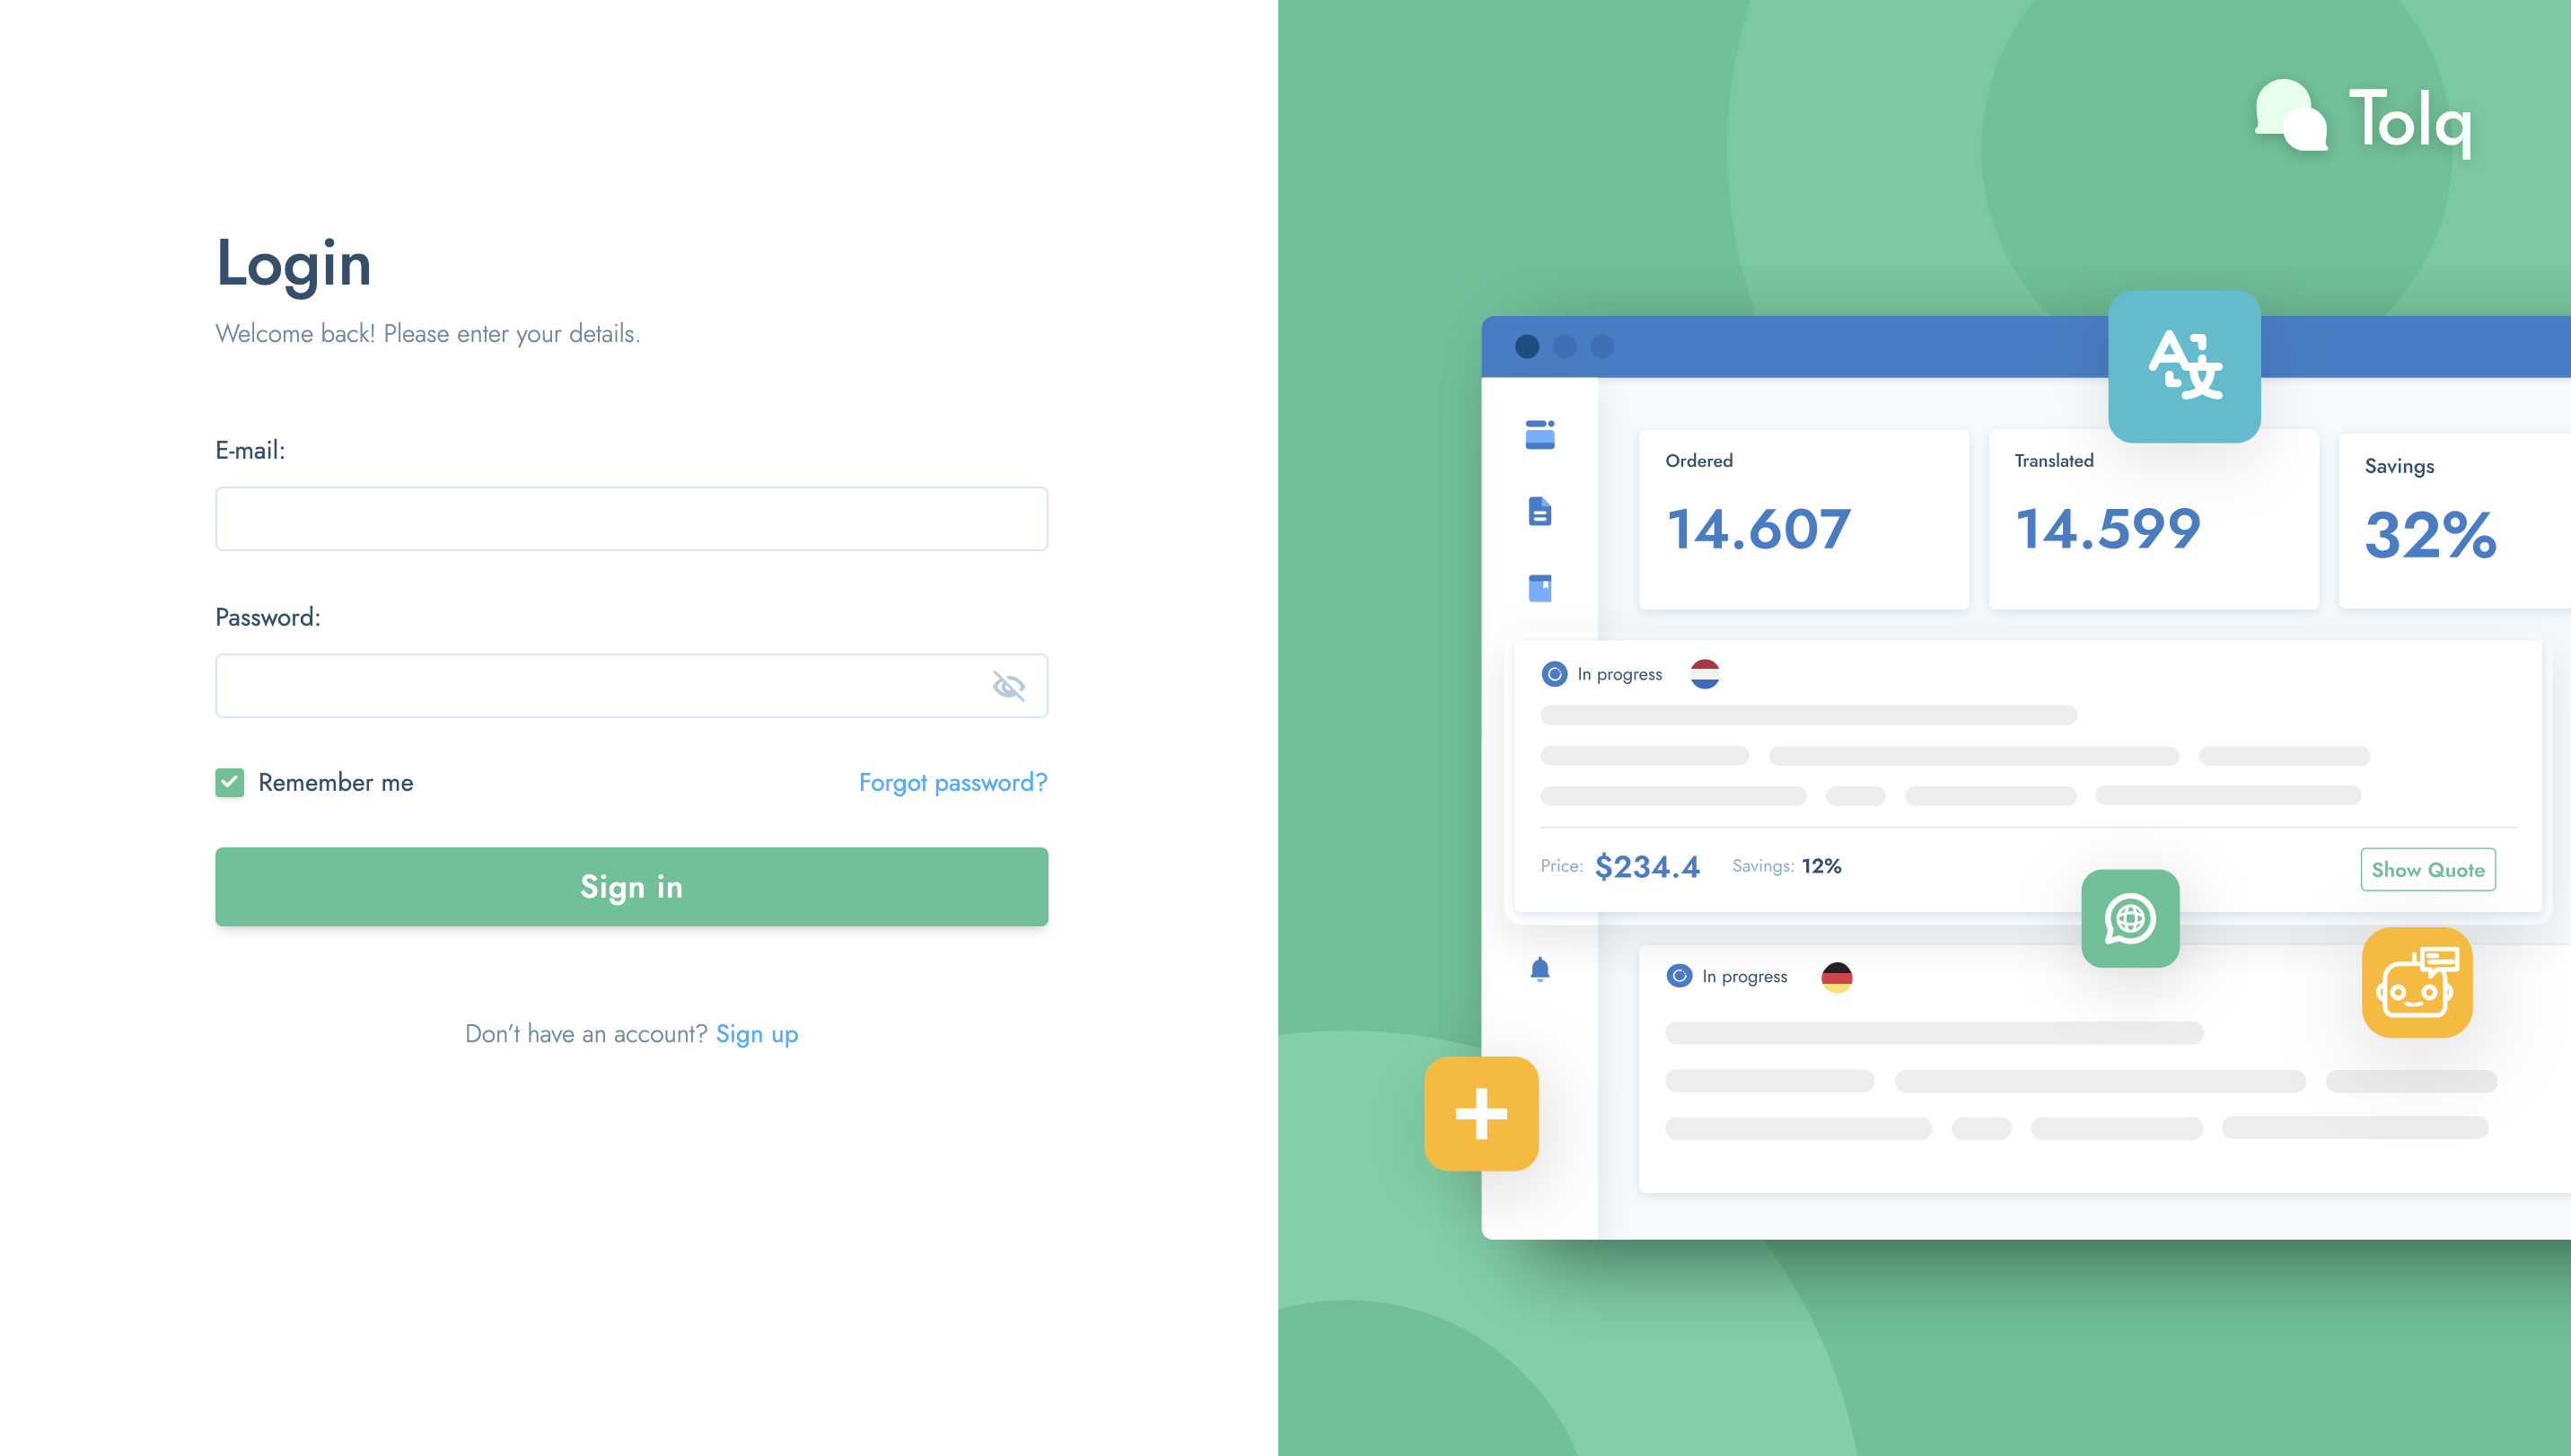
Ready to get started? Follow these simple steps to log in:
- Using the details you entered during Sign up, navigate to this link: https://clients.tolq.com/en/auth/sign-in.
- Enter your email address.
- Input your password.
- Click "Sign In" to access your account.
Forgot your password? No worries! Just use the "Forgot Password" link to reset it and regain access to your account. Read this article for detailed instructions on how to Reset your Password.
You're now logged in and ready to explore Tolq's services.
The Dashboard
- Once you logged in for the first time, you will see the Dashboard. It will look like this:
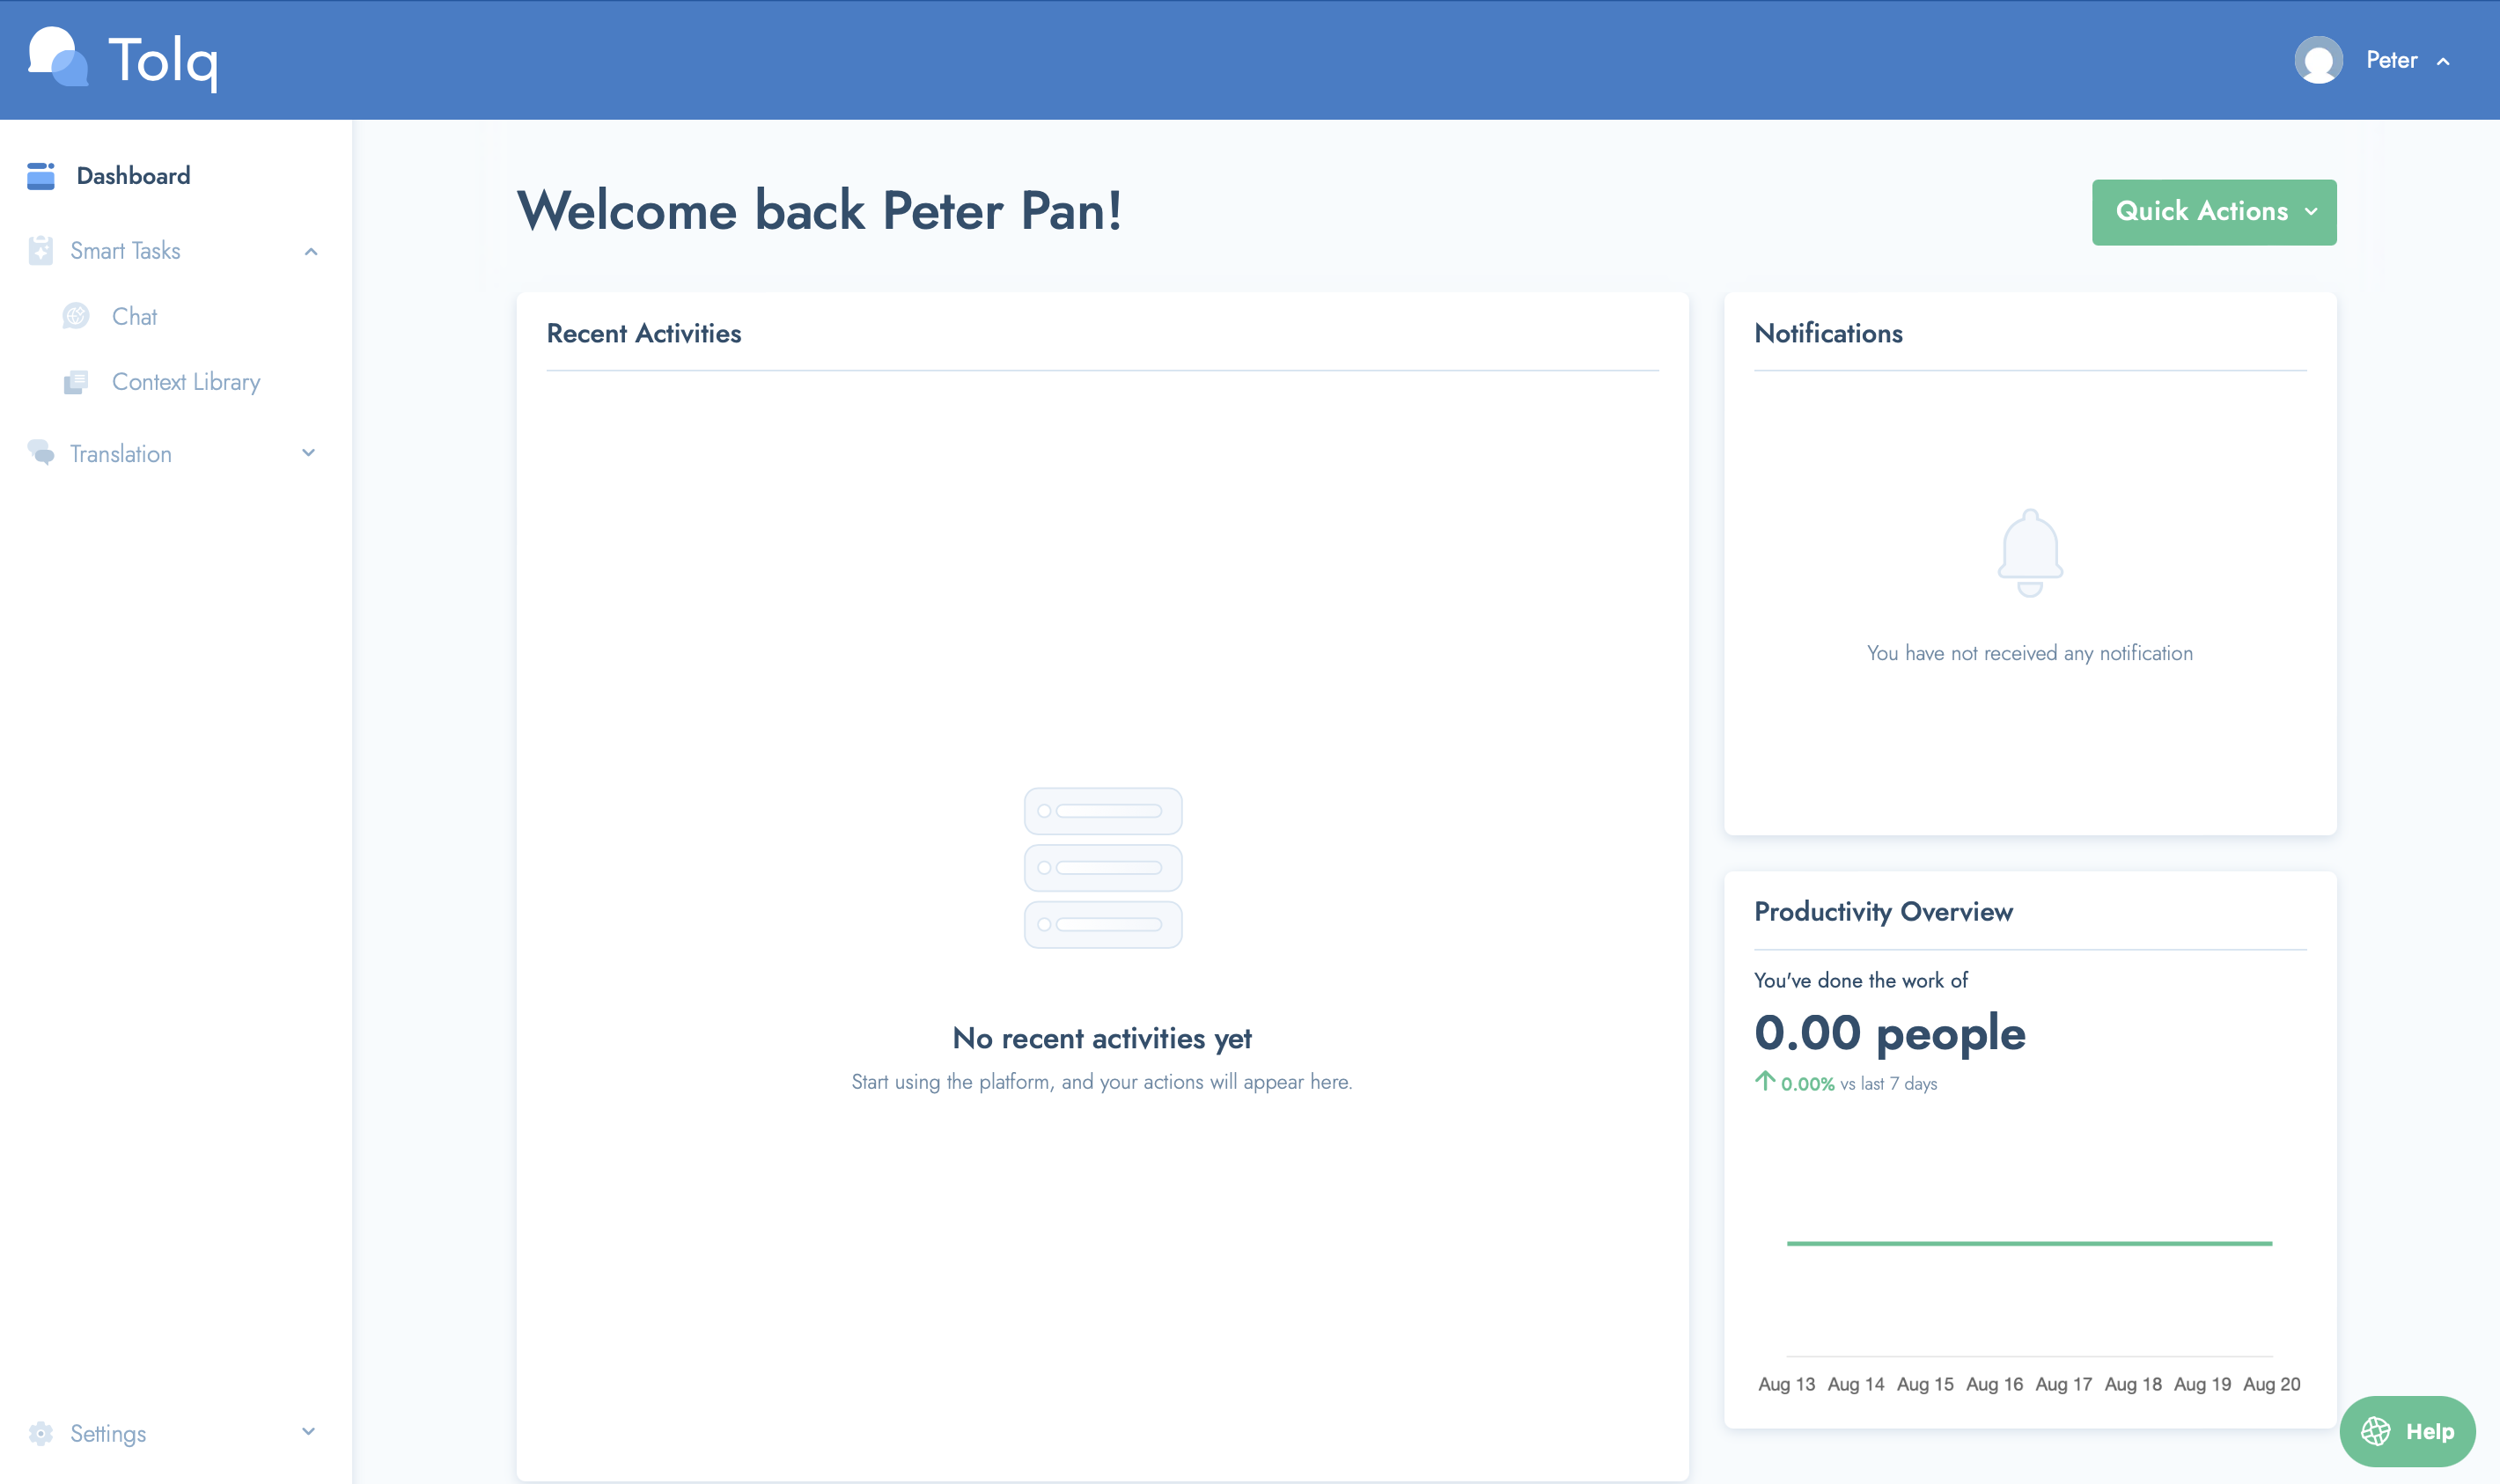
- The Dashboard consists of the following:
- A feed that will list your recent activities - this includes everything related to Translation as well as Smart Tasks (Tolq AI)
- Notifications related to your activities - Here you will be notified of comments from translators
First thing to do after logging in:
Account details - Finalising your account
Before you get started, take a moment to finalise your account details by checking and confirming or setting up the following details:
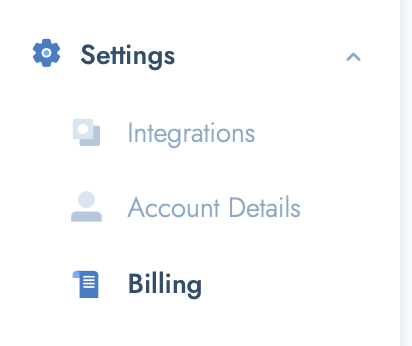
- To get started, navigate to the "Settings" menu item on the menu bar on the left - at the bottom:
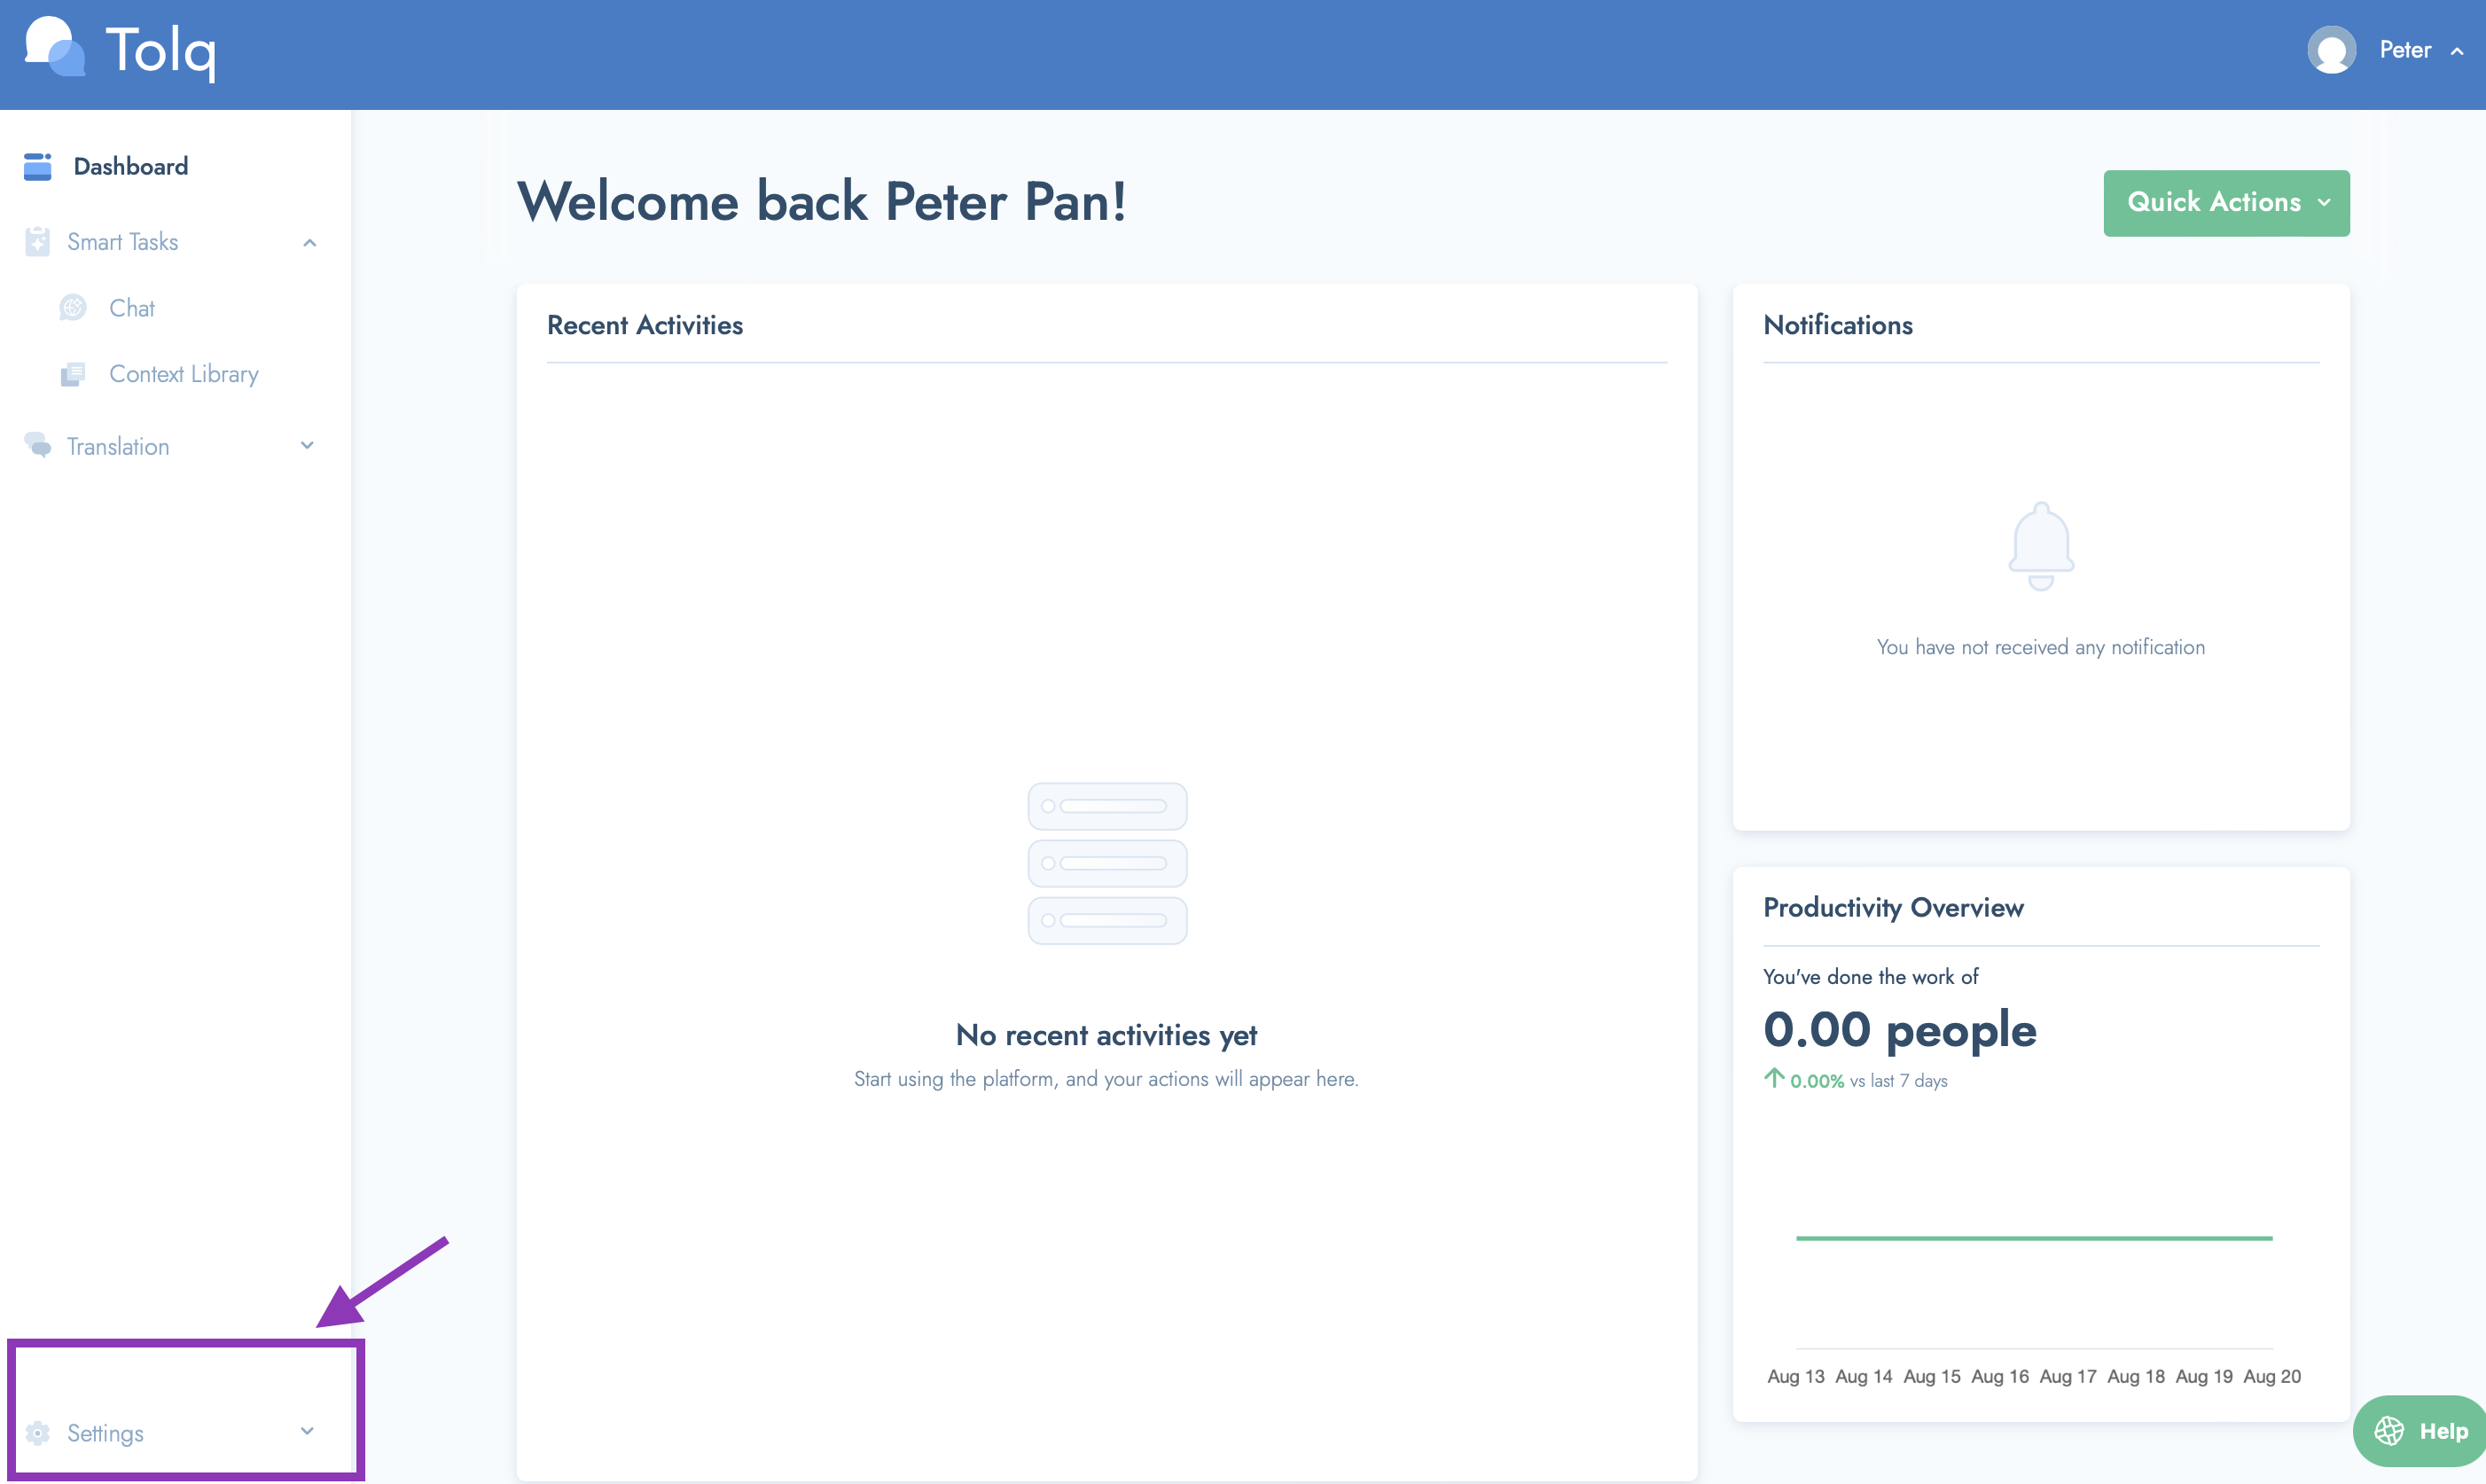
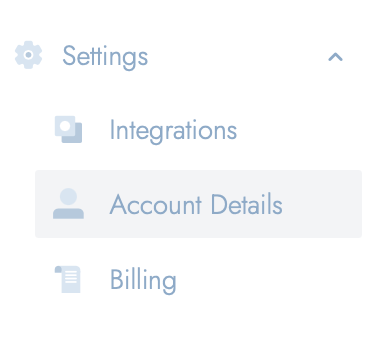
- Click on "Settings" and then select "Account Details"
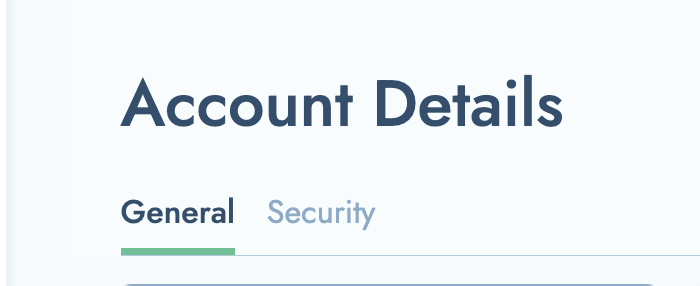
There are 2 tabs on the Account Details page.
Let's look at each tab and the associated details:
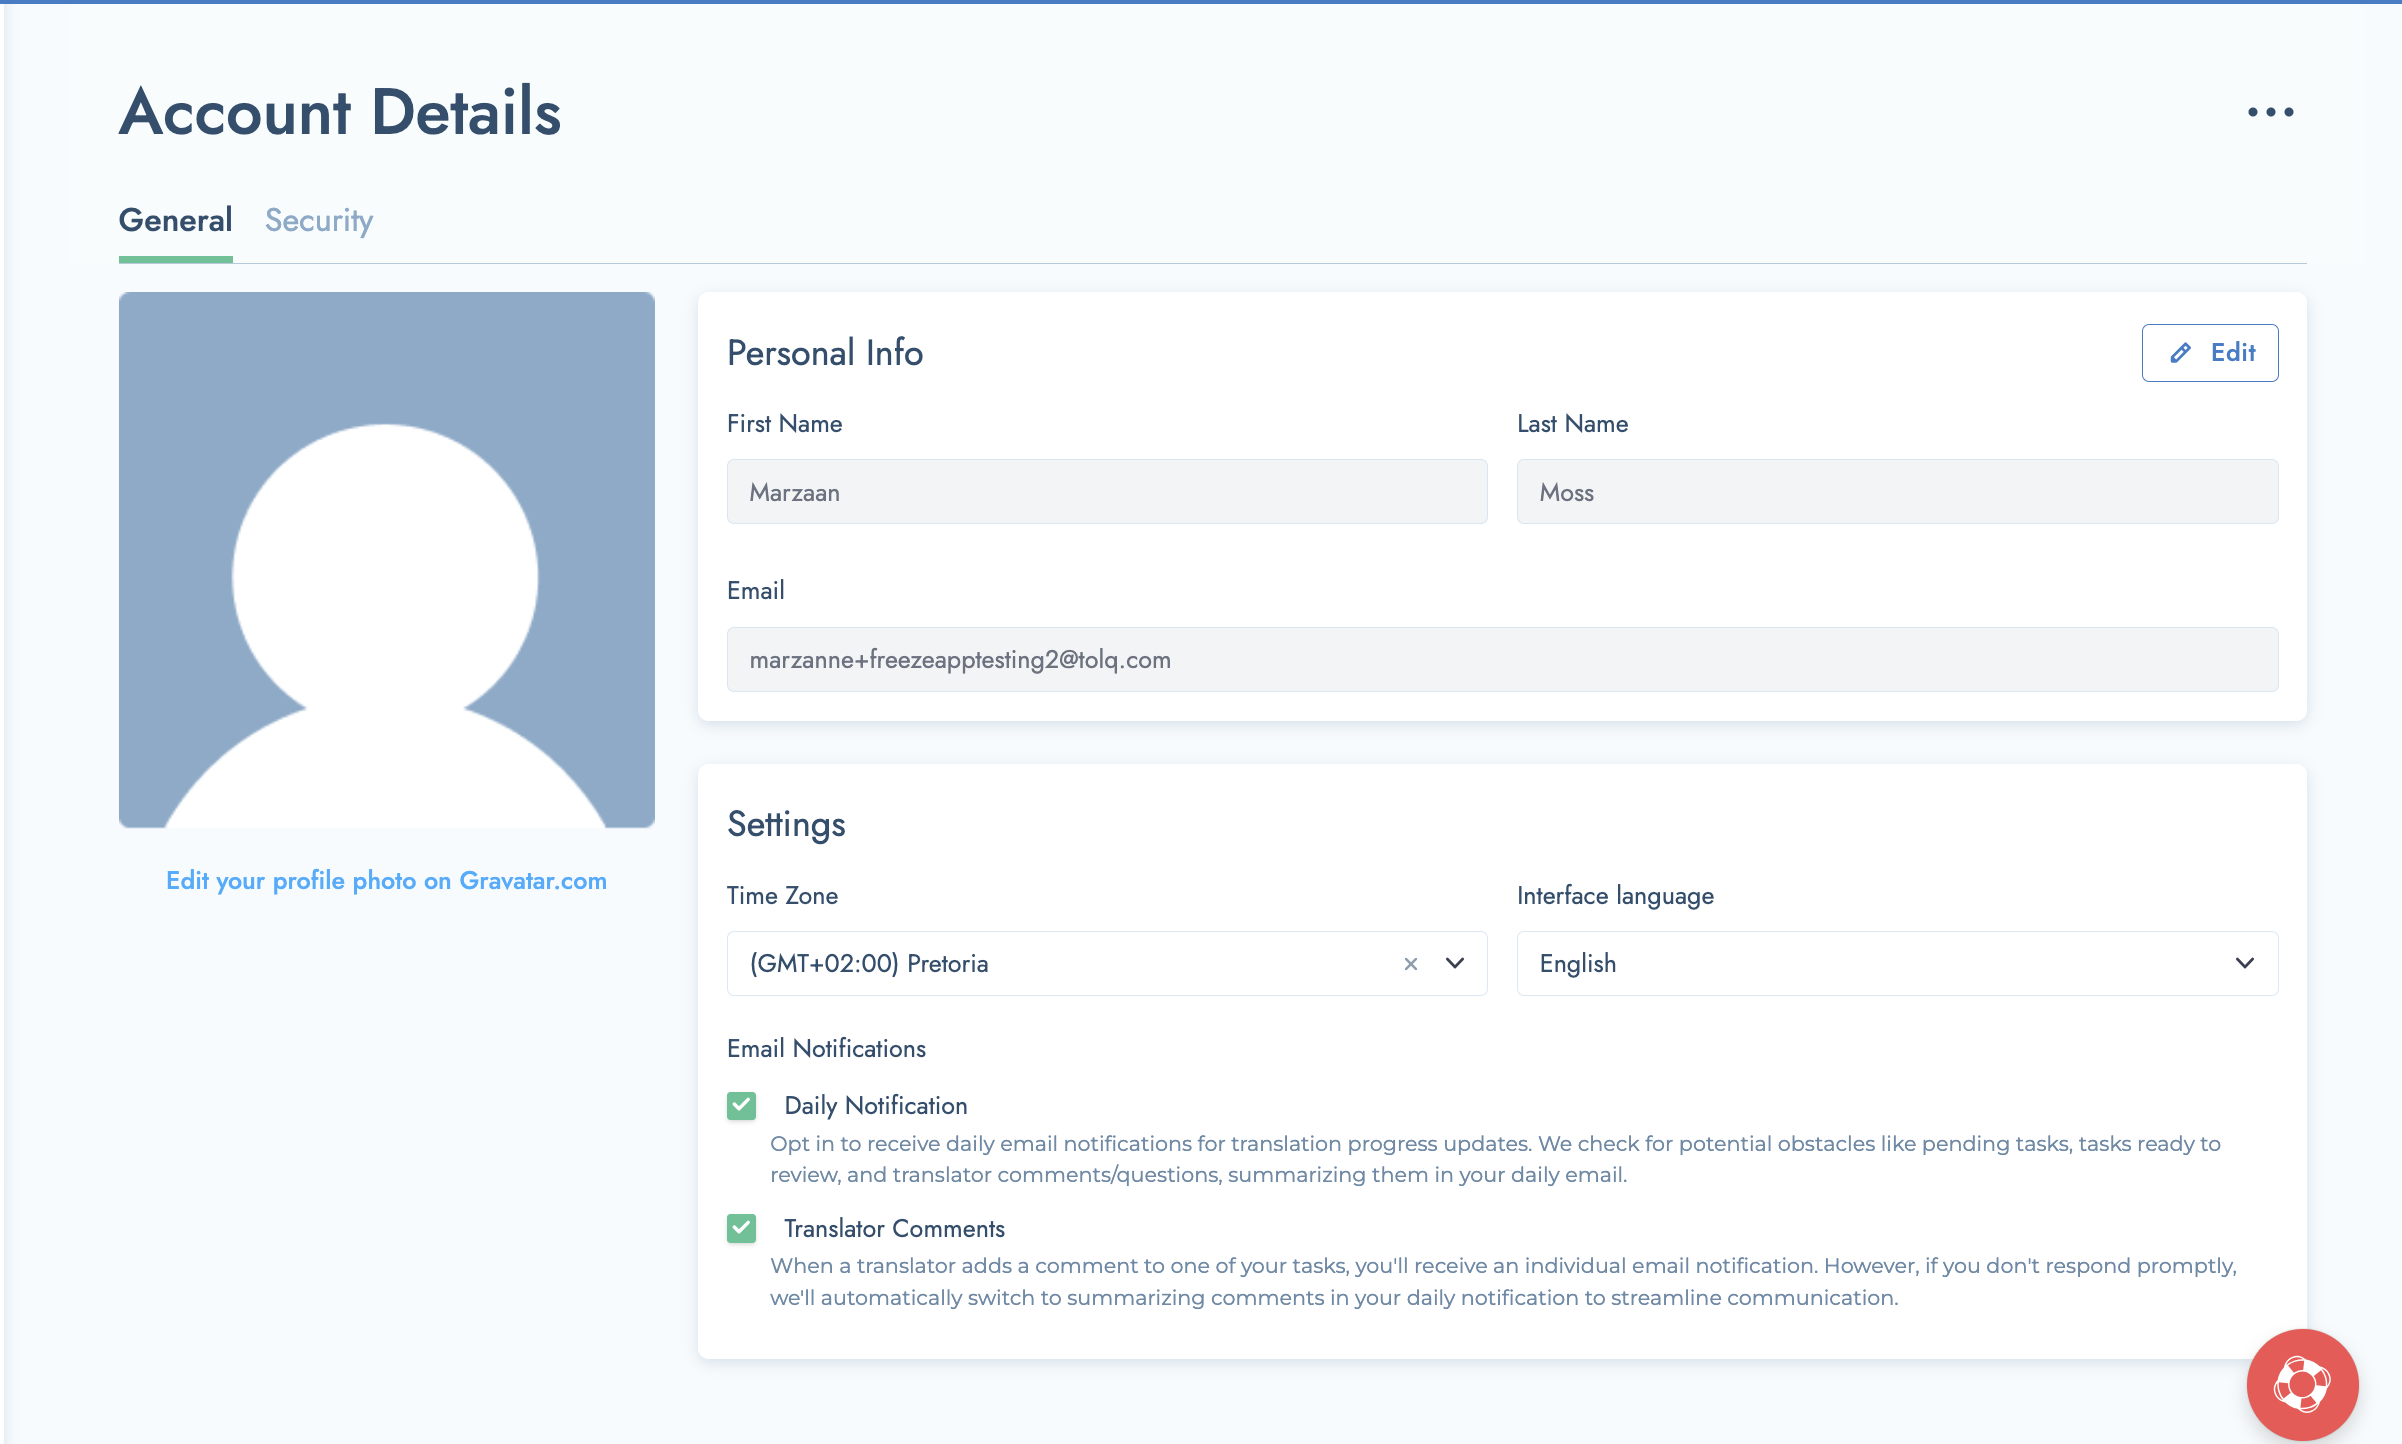
1. "General" tab
Here you have access to the following details:
- Name, Surname, and Email Address: Ensure your name, surname, and email address are correct. If any changes are needed, you can update them here, in your account settings.
- Time Zone: Set your time zone to ensure accurate scheduling and timely notifications aligned with your location.
- Interface Language: Set, update and change your interface language here. Available languages for the Tolq interface: English, German, Dutch, Italian and French
- Email Notifications: Customize your email notification preferences to stay informed about important updates, project statuses, and more. Adjust settings according to your preferences to ensure you receive the notifications that matter most to you. We strongly recommend to keep both Email notifications active so that you can stay up to date with any movement in your translation projects. E.G.
- Daily Notification: You will receive daily email notification for translation progress updates. We check for potential obstacles like pending tasks, tasks ready to review, and translator comments/questions, summarizing them in your daily email.
- Translator Comments: When a translator adds a comment OR asks you a question in one of your active translation tasks, you'll receive an individual email notification. However, if you don't respond promptly, we'll automatically switch to summarizing comments in your daily notification to streamline communication.
- Profile picture: You can upload a profile picture if you like.
2. "Security" Tab

Here you have access to the following:
- Change Password: Here you can change your password, if you choose to do so.
- Two-Factor Authentication (2FA): Enhance the security of your account by enabling two-factor authentication. This adds an extra layer of protection to prevent unauthorized access to your account.
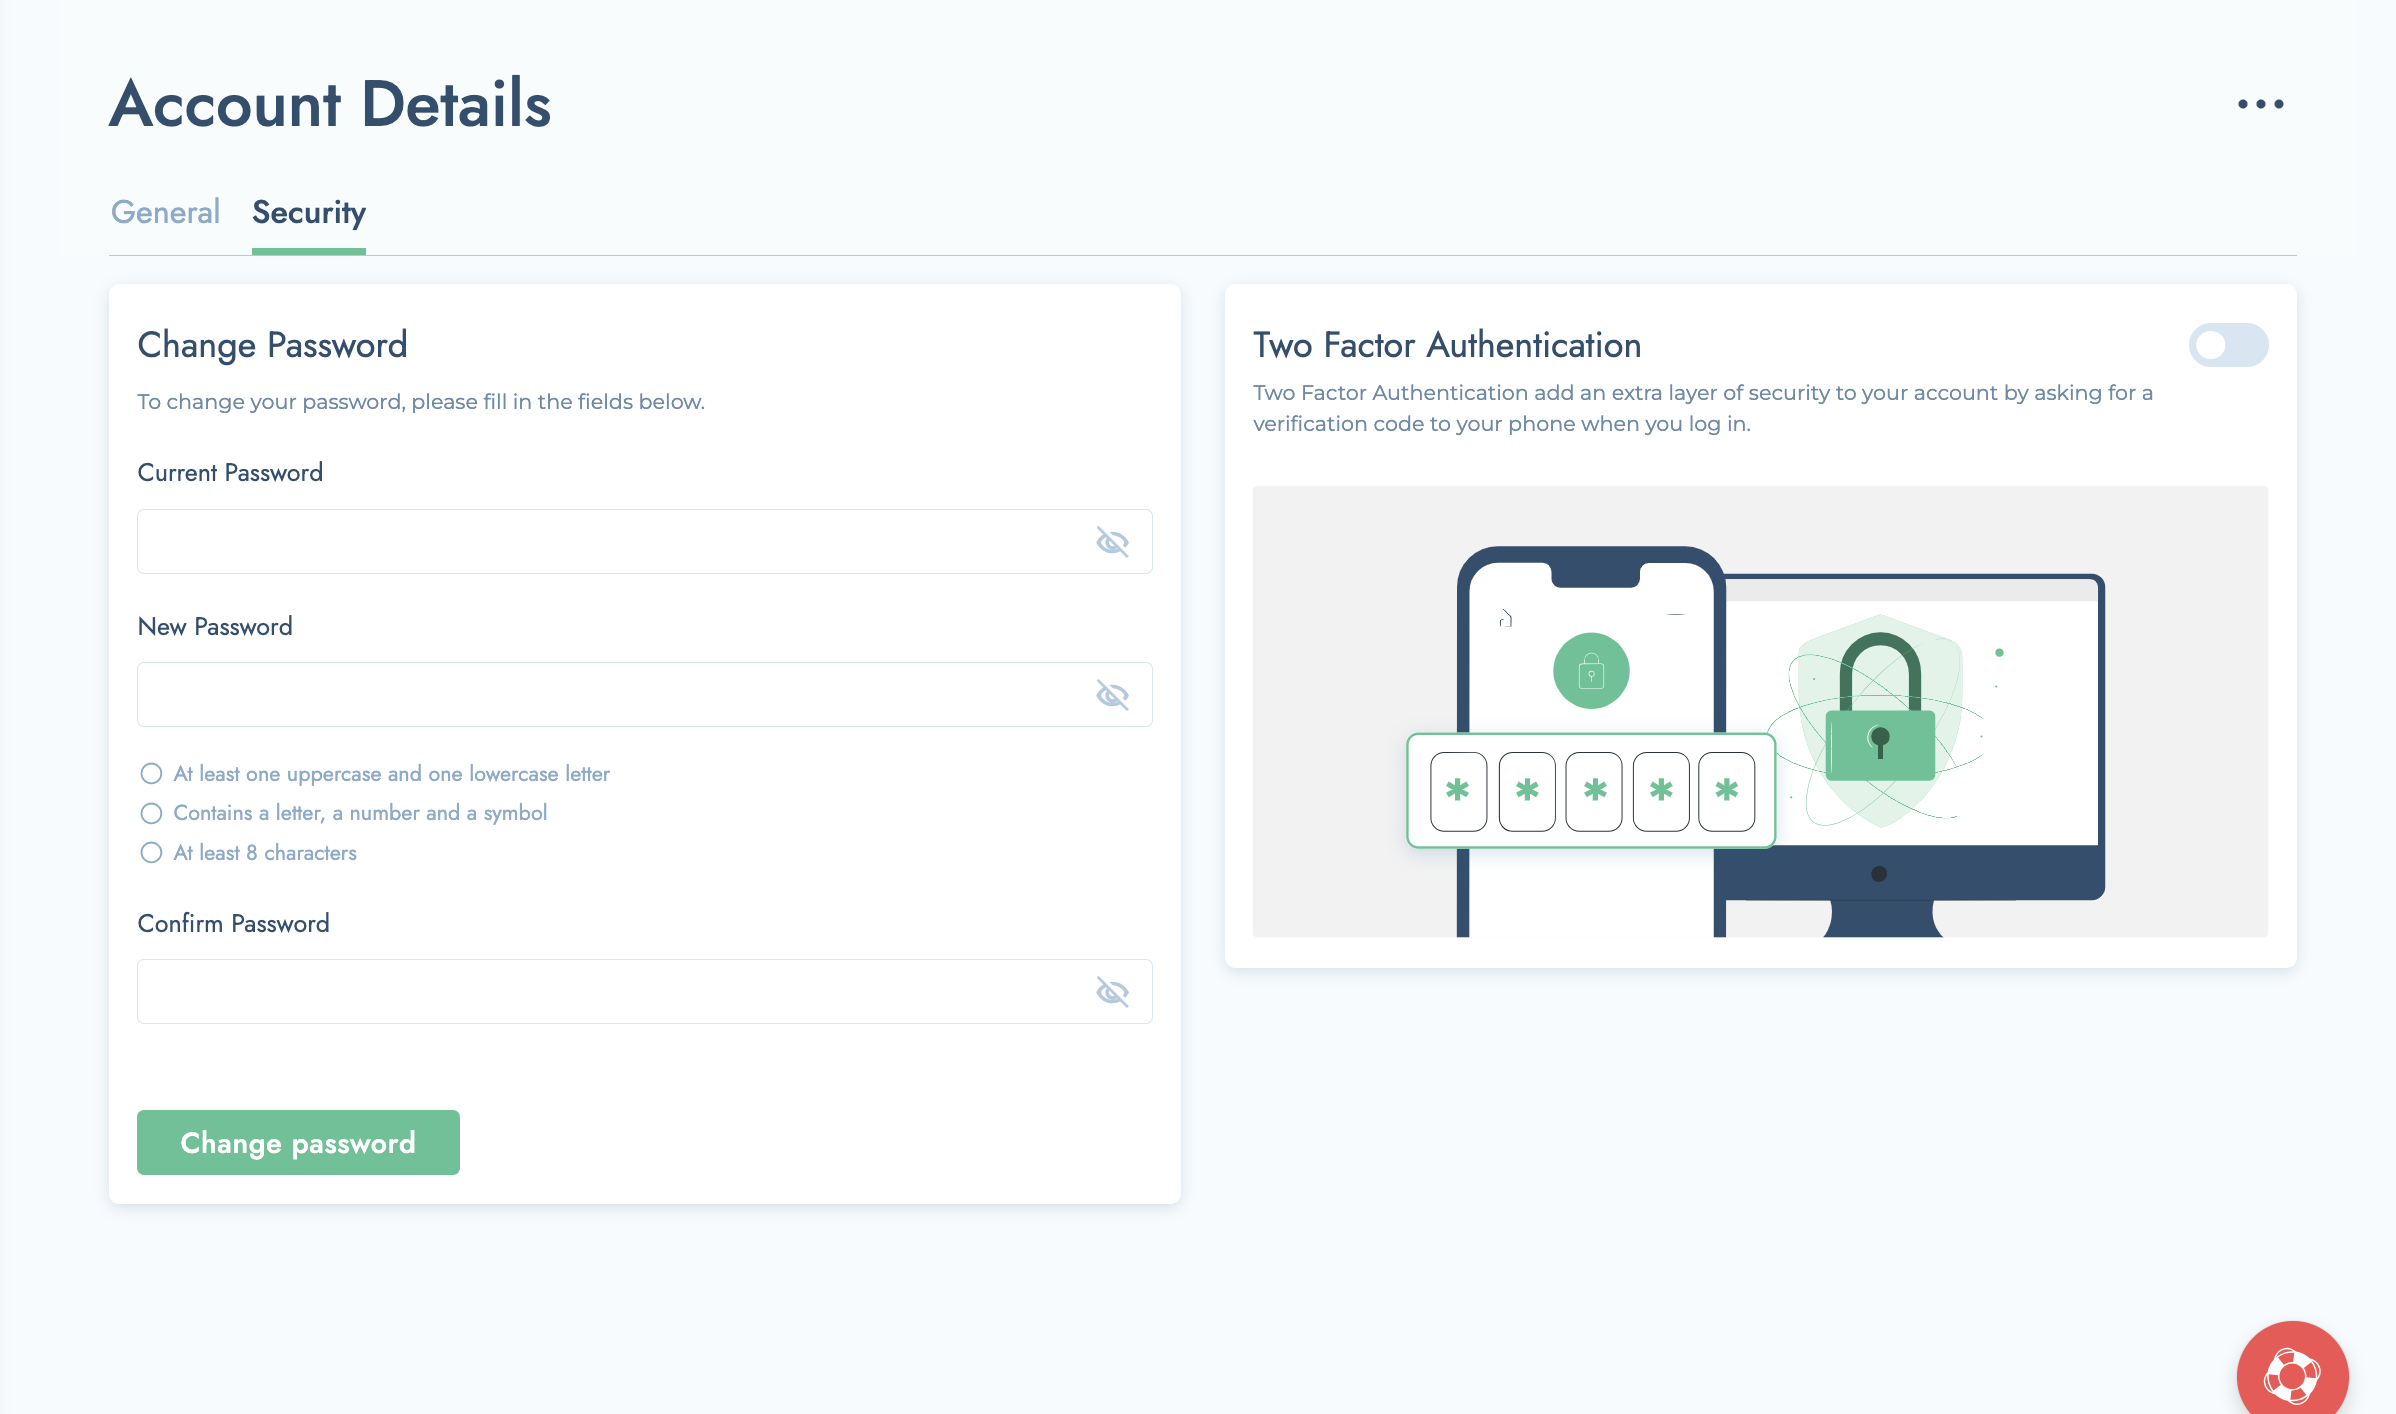
- To activate 2FA please follow the following steps:
- Switch on the toggle
- Enter your current password and click "next"
- Enter your cell number and confirm
Billing - Finalising your account
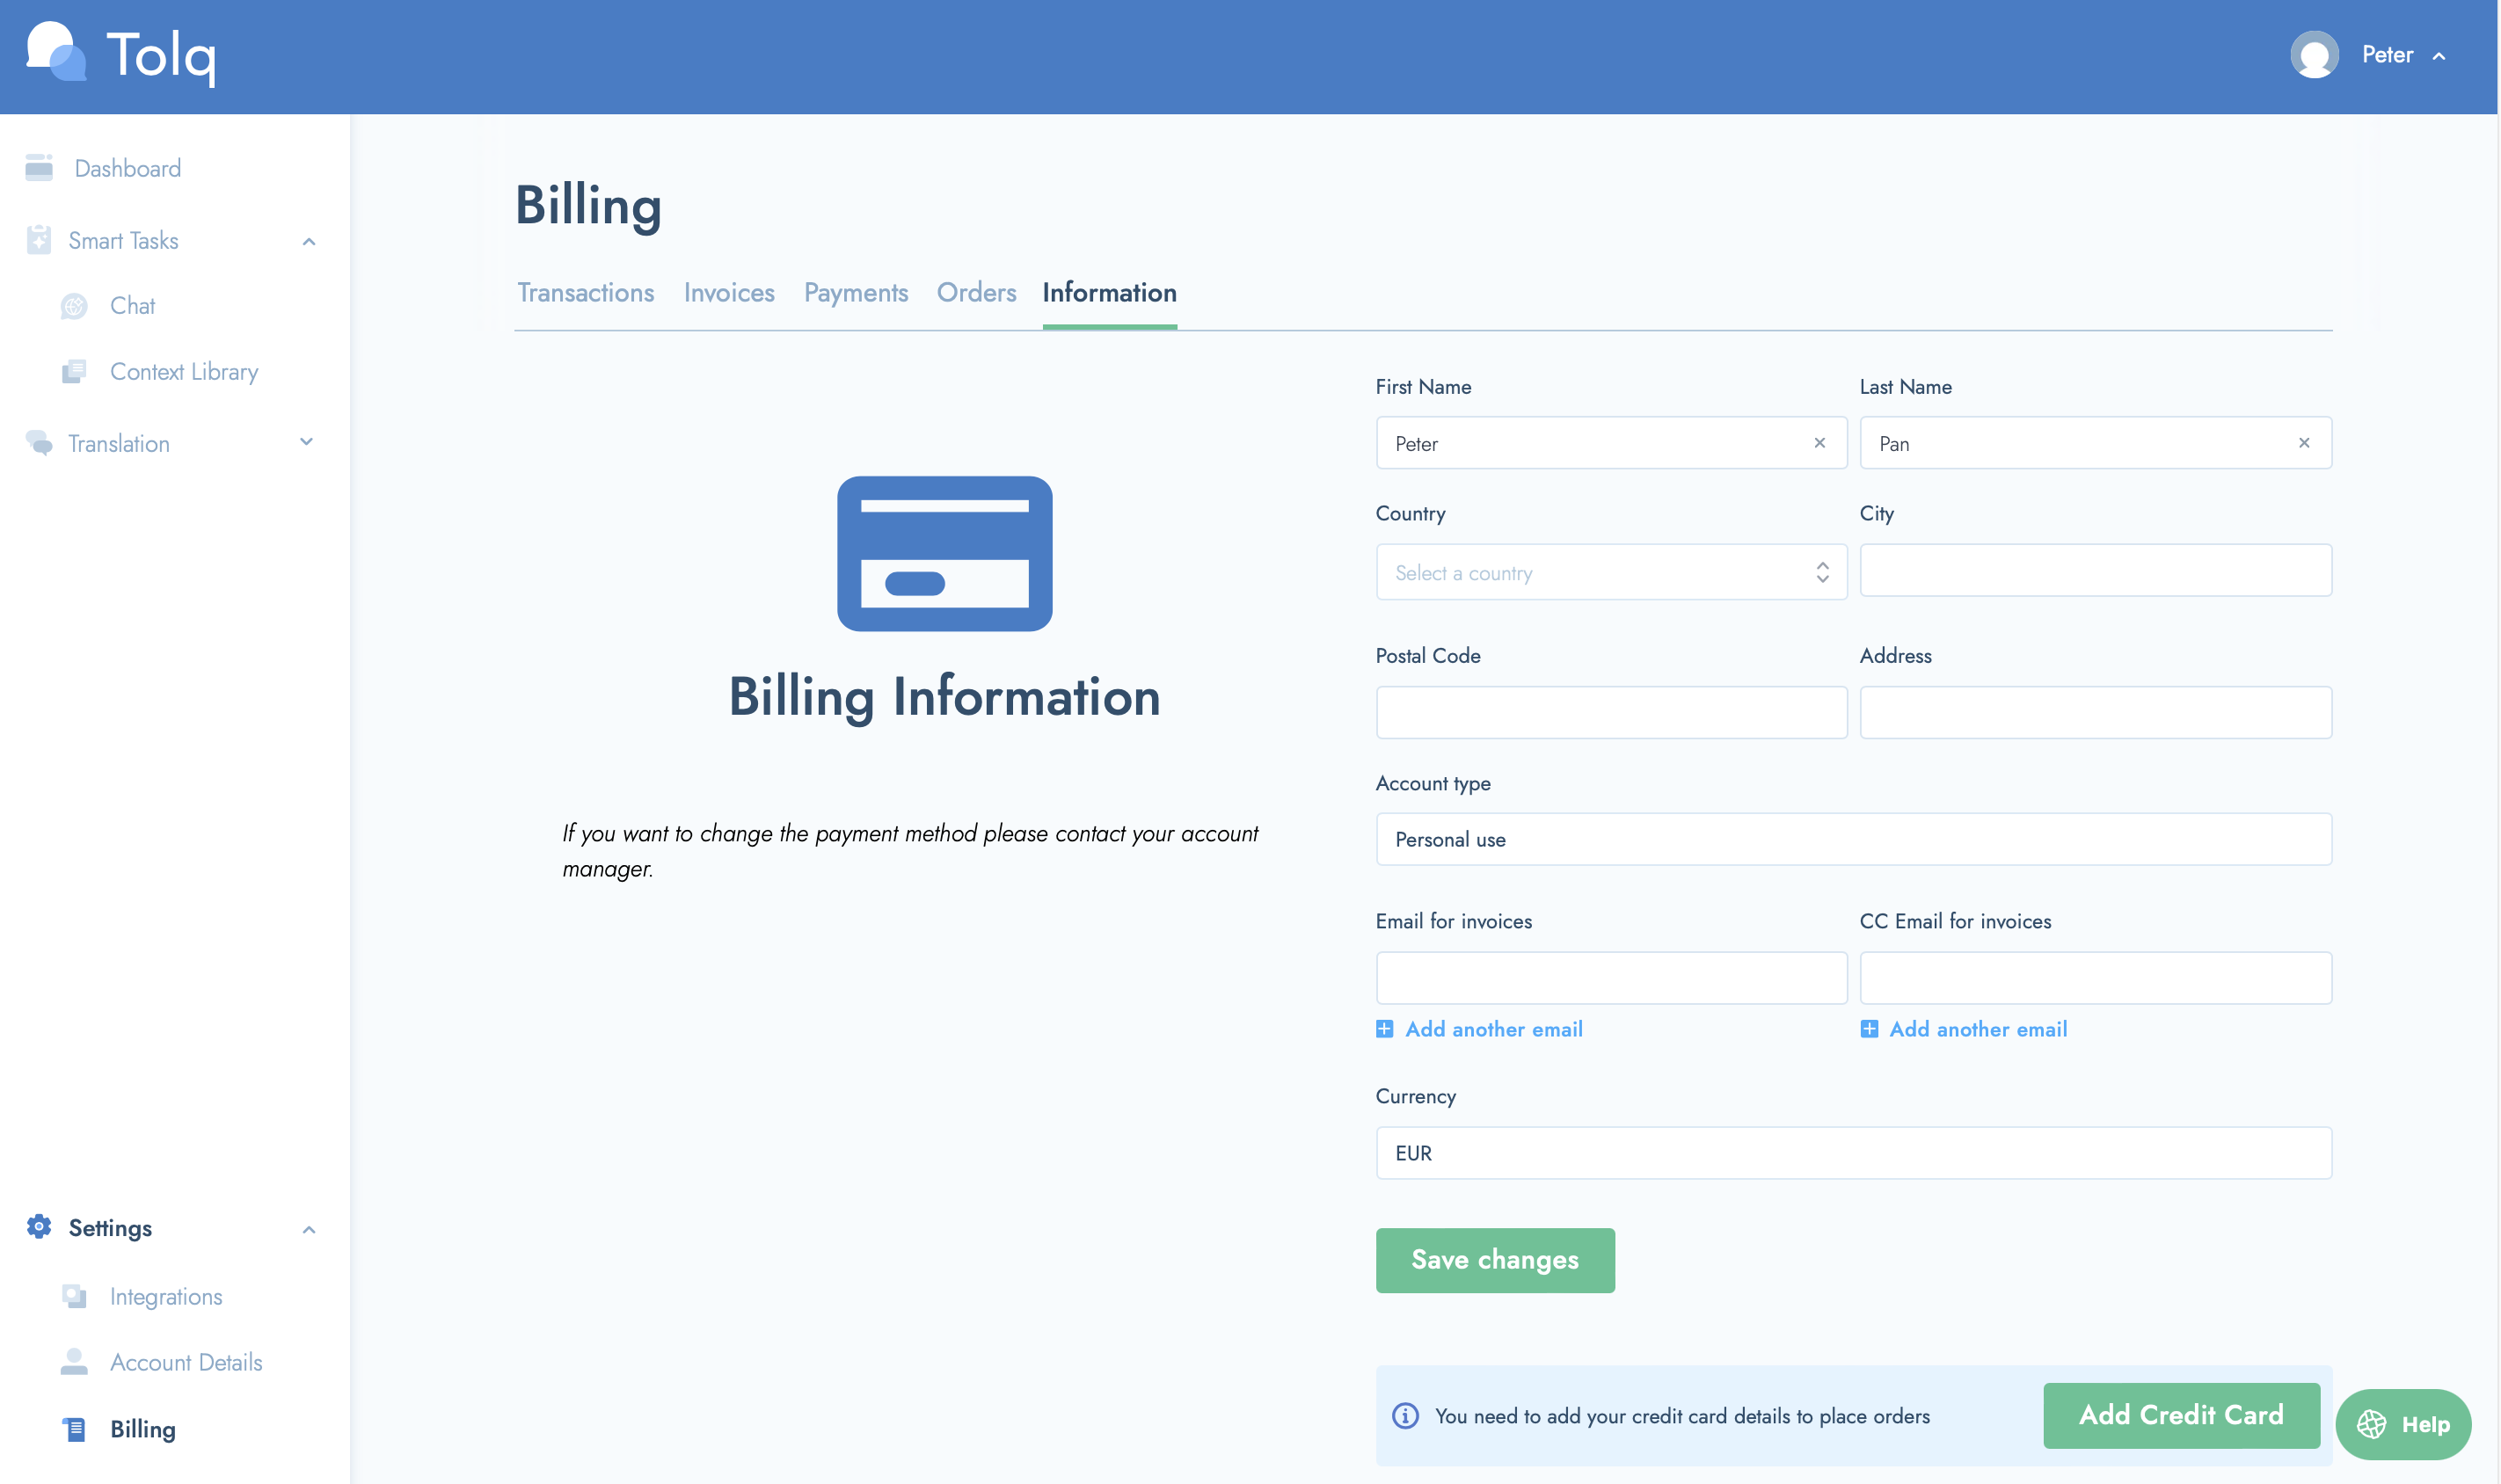
Billing Information
To ensure seamless billing processes, please follow these steps:
- Navigate to the "Settings" menu item again and click to expand.
- Select "Billing"
- Navigate to the "Information" tab.
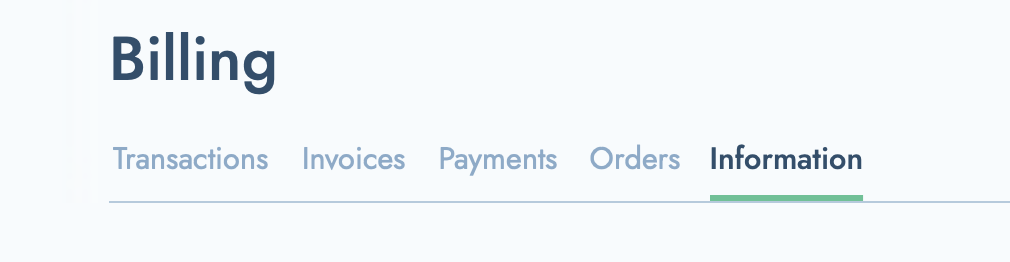
- Continue to confirm your billing information: Review the existing billing information to ensure that it's accurate. If any details need updating or correction, make the necessary adjustments.
- Add Credit Card: If you haven't already done so, add your credit card details to facilitate automatic payments. This helps streamline your billing experience and ensures uninterrupted service.
Please note:
- Accounts are typically set up for credit card payments by default for convenience and efficiency.
- If you prefer to use a different payment method or have any billing-related inquiries, please reach out to our dedicated client support team at customerservice@tolq.com.
Explore More Topics
Looking to delve deeper into specific areas? Check out the articles conveniently listed on the right-hand side of the page.
Need Further Assistance?
If you still have questions or require assistance, our dedicated support team is here to help. Simply reach out to us at customerservice@tolq.com, and we'll be happy to provide the support you need.